Beachy wall art rules. After all, ever go on the perfect beach vacation and wish you could keep that beach vibe going long after you return home?
I certainly have.
Reuse and Rethink: Creating Beachy Wall Art From Vacay Photographs
As you’re flipping through all those creative beach photos you took on your last vacation, wouldn’t it be wonderful, you ask yourself, to be there again?
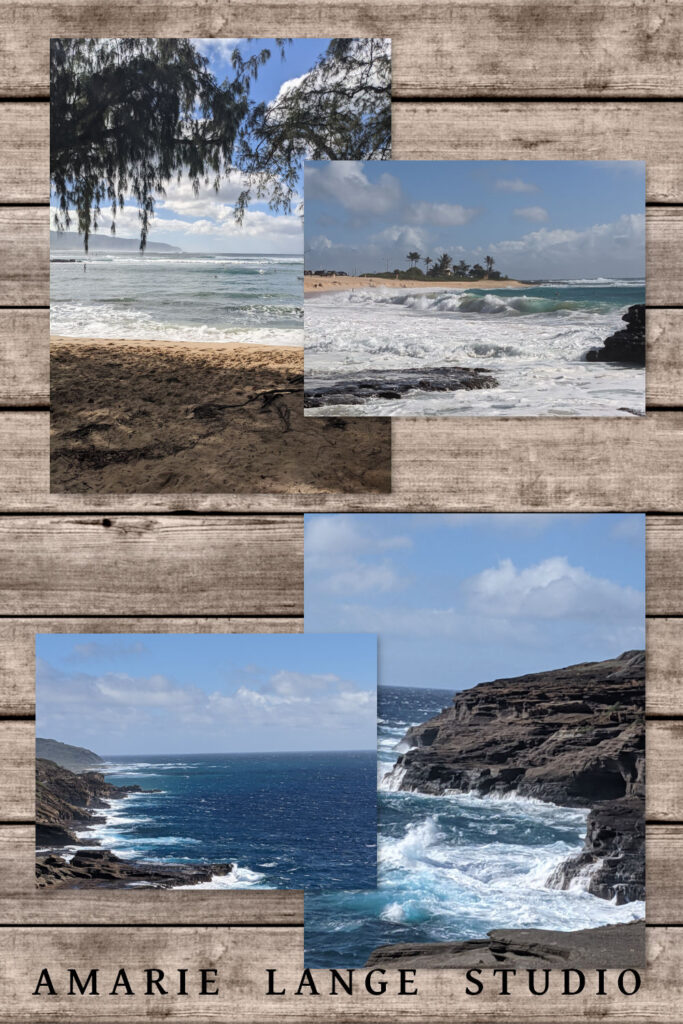
Wouldn’t my days go better, you ask, if I could see one of these beautiful beach photographs on my wall or desk at work? Or maybe in my bedroom?
Well, I thought that way, too. Here’s a couple of my ideas that just might work for you.
Print a Beach Vacay Photo – But Don’t Stop There
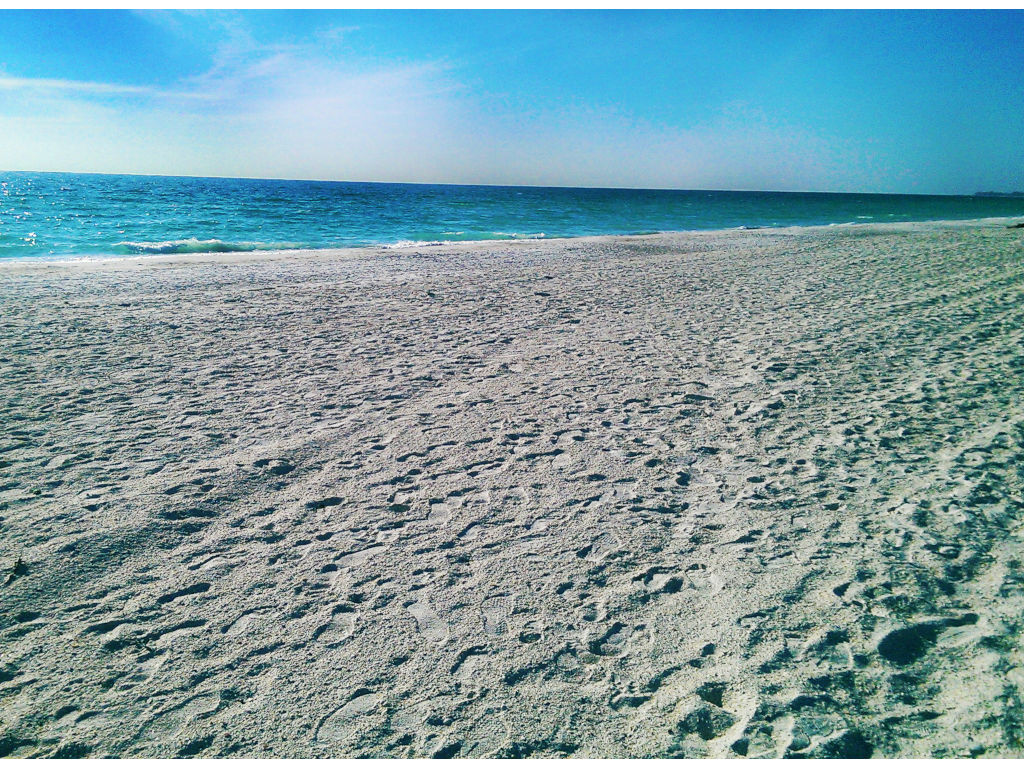
In this post I’m using a photo I took near the Bradenton Beach/Anna Marie Island area of the gulf coast in Florida. This is a very popular resort area with Sarasota to the south and Tampa to the north. Lots of people make this their annual vacation spot and I’ve done the same myself more than once.
I have many gorgeous sunset photos I’ve taken and while it’s always fine to simply print out the photo, frame, and hang on your wall, I like the idea of doing something, well, more custom.
And more artsy. After all, we’re talking about your completely unique photo and you were there.
Standing on that beach. Smelling that water. Letting the wind wrap around you and hold you tight.
Yeah. Those are the feelings you want every time you look at that photo, right? I totally get that. That’s why a little customization of your photo will make those memories far more real.
Artsy Beach Photos
So here’s what I did. (This is not a step-by-step tutorial. Just the basic ideas.)
I uploaded the picture to my computer and popped it into Gimp. Gimp is a free image manipulation software program, similar to Photoshop for those who are familiar with that particular program.
Besides Gimp, you can easily do this with Canva, which is another great resource, as well as other image manipulation tools.
I checked on the resolution of my stunning vacation beach photo, and sure enough, the photo would work just fine as a medium-sized print (I was thinking 11×14 inches). But I wanted more. (You, too?)
So I decided to get artsy.
My Florida vacation beach photo was about to get transformed.
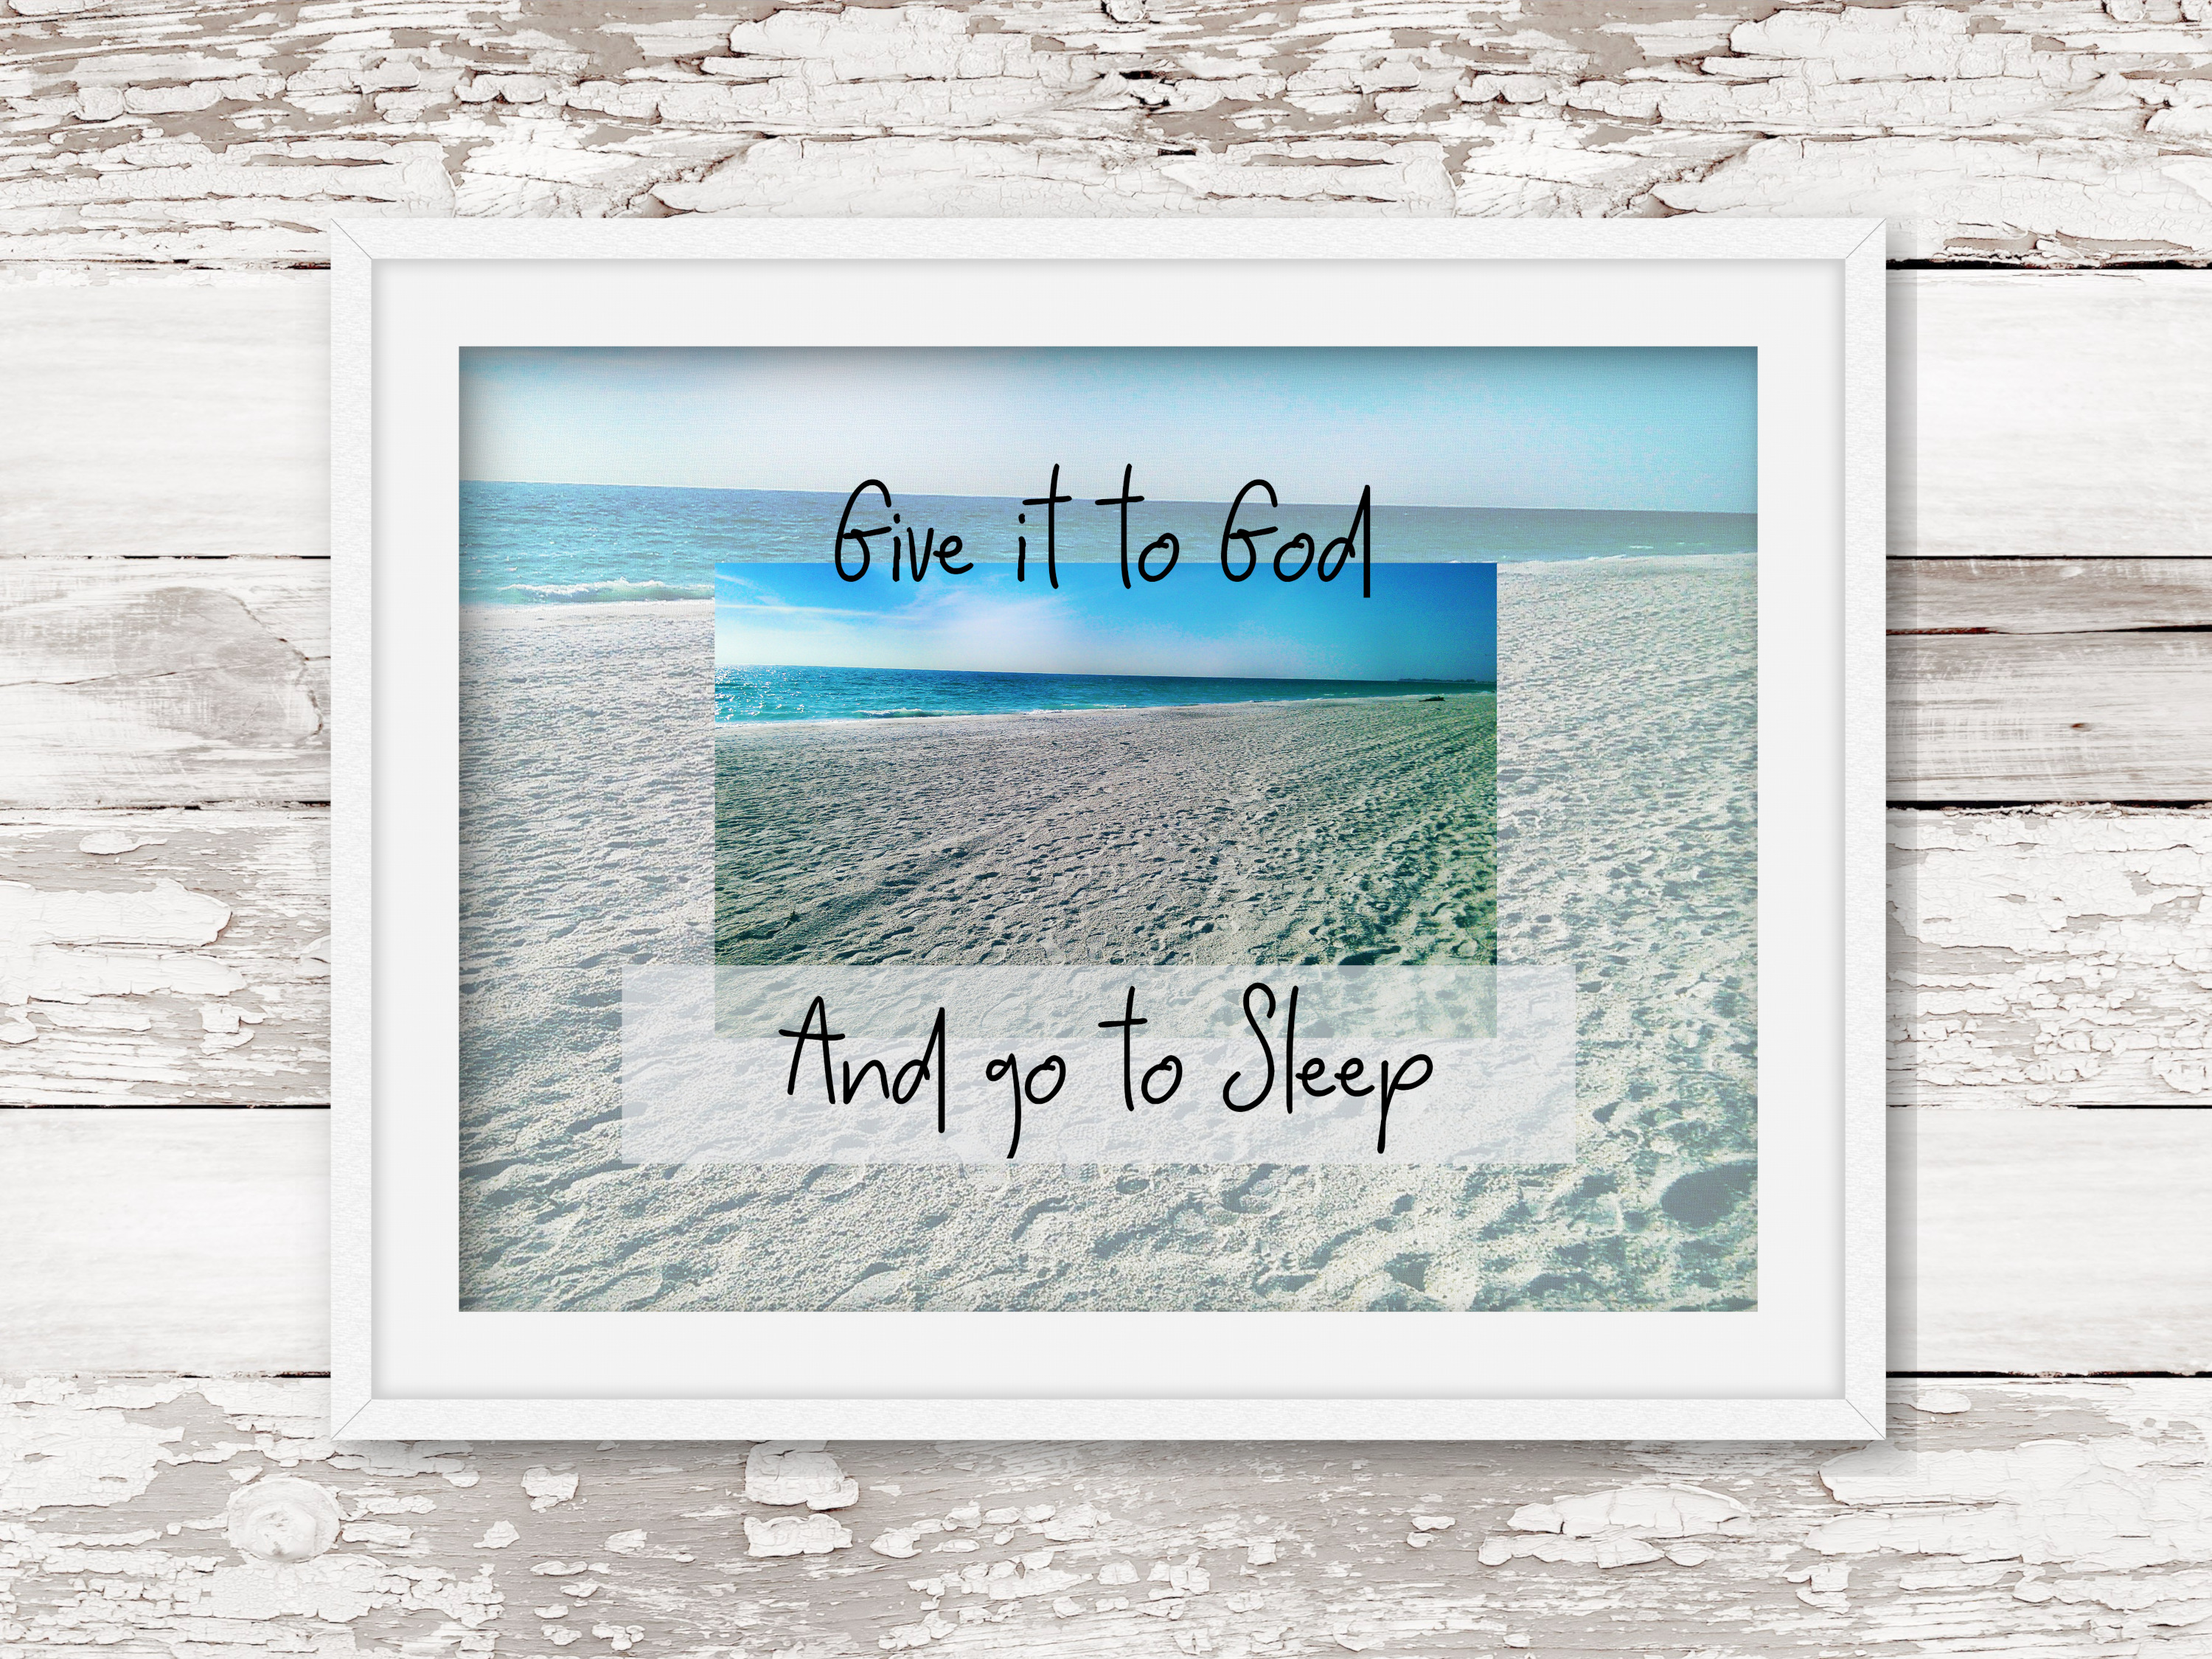
I cropped a section of the photo to fit on a 11×14 canvas in Gimp. The details were excellent.
I could almost feel the sand between my toes.
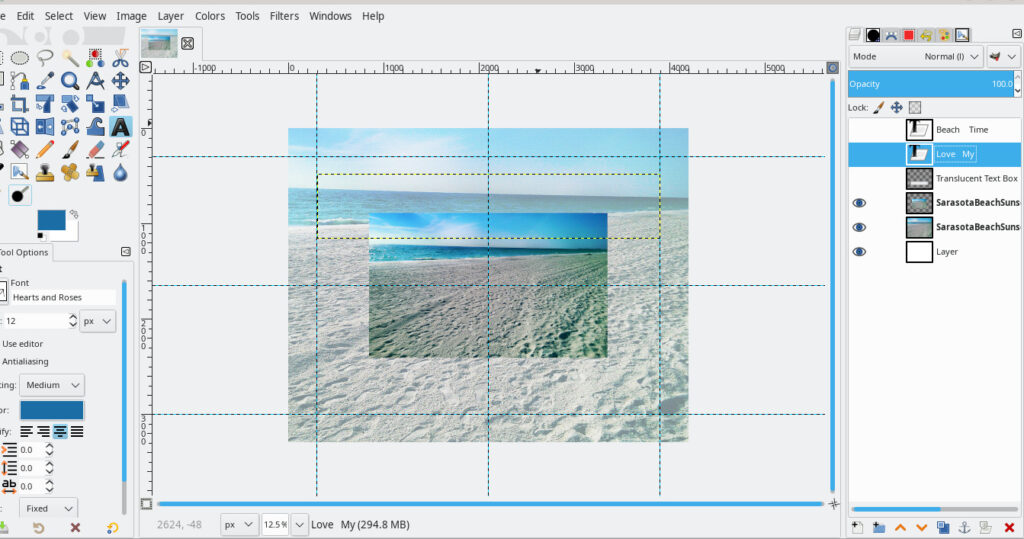
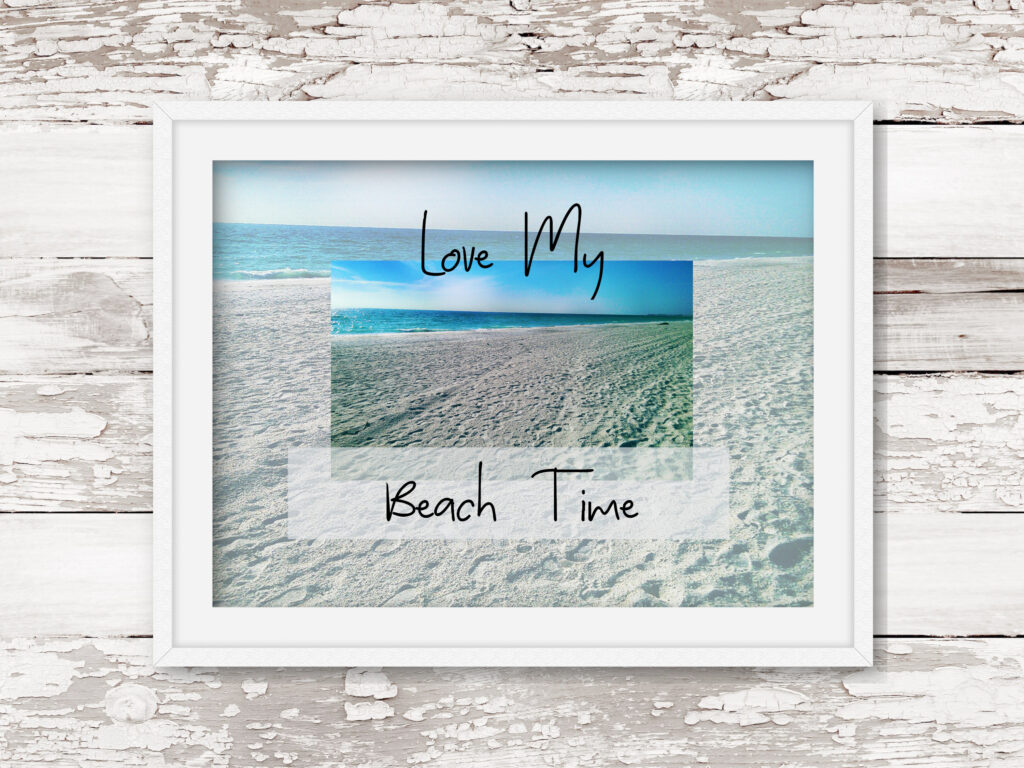
Then I layered the original photo in a smaller size over the top of the cropped photo. A beautiful beach print from my summer beach vacation.
I certainly could have printed that diy beach art then and there. But…I’m always looking for that additional something when I play around with my art.
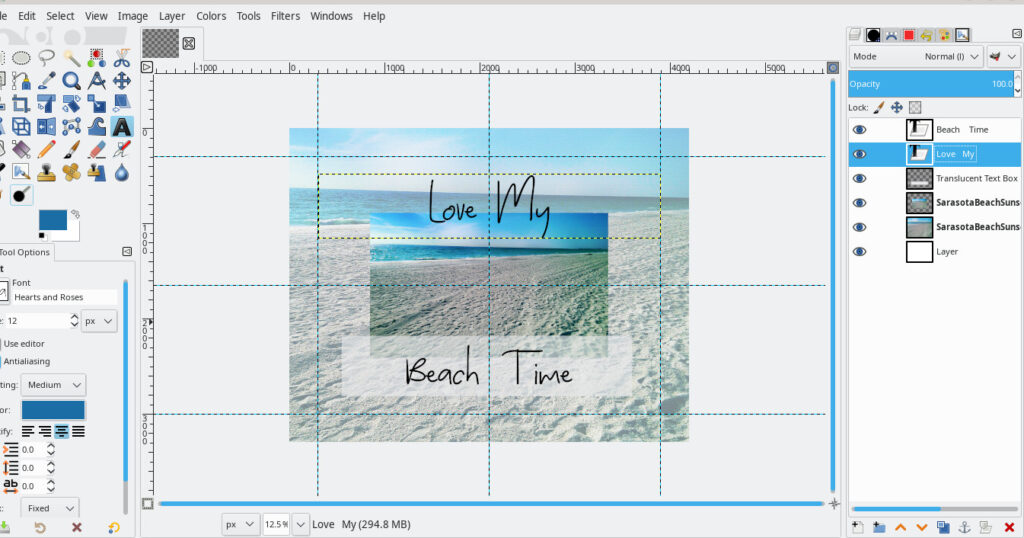
So, I added a text layer over the top of the beach artwork. Of all the beach vacation quotes I looked at, two stood out for me.
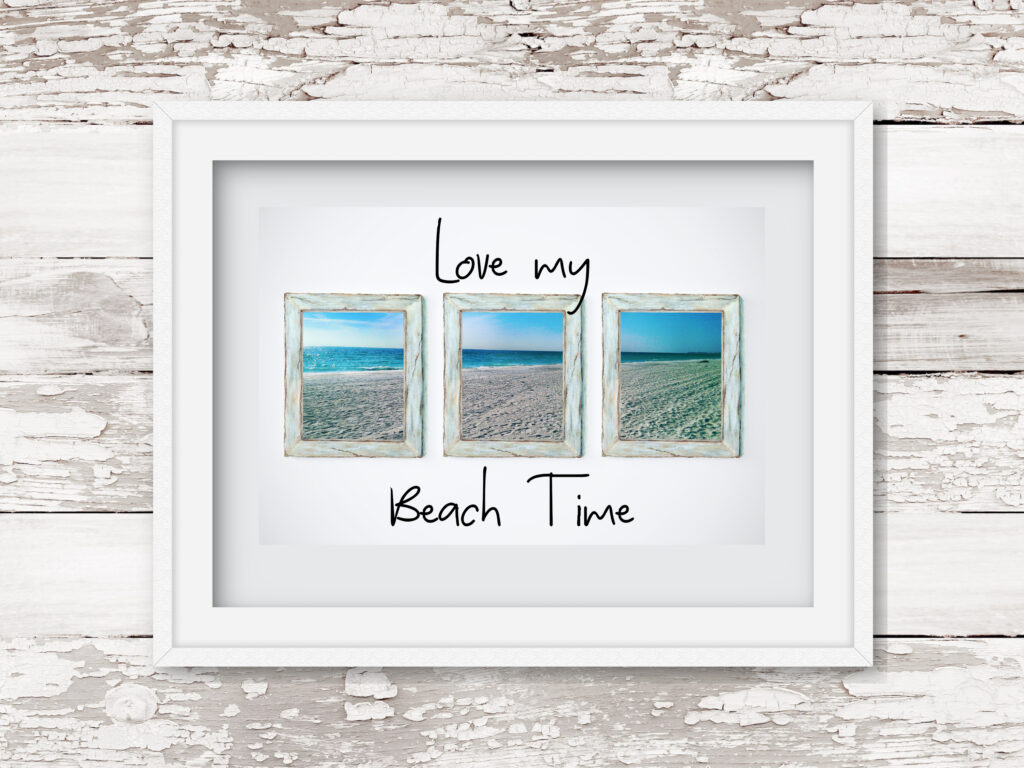
“Love my beach time” just feels…well…beachy. Really takes me back to my days on this lovely Florida beach.
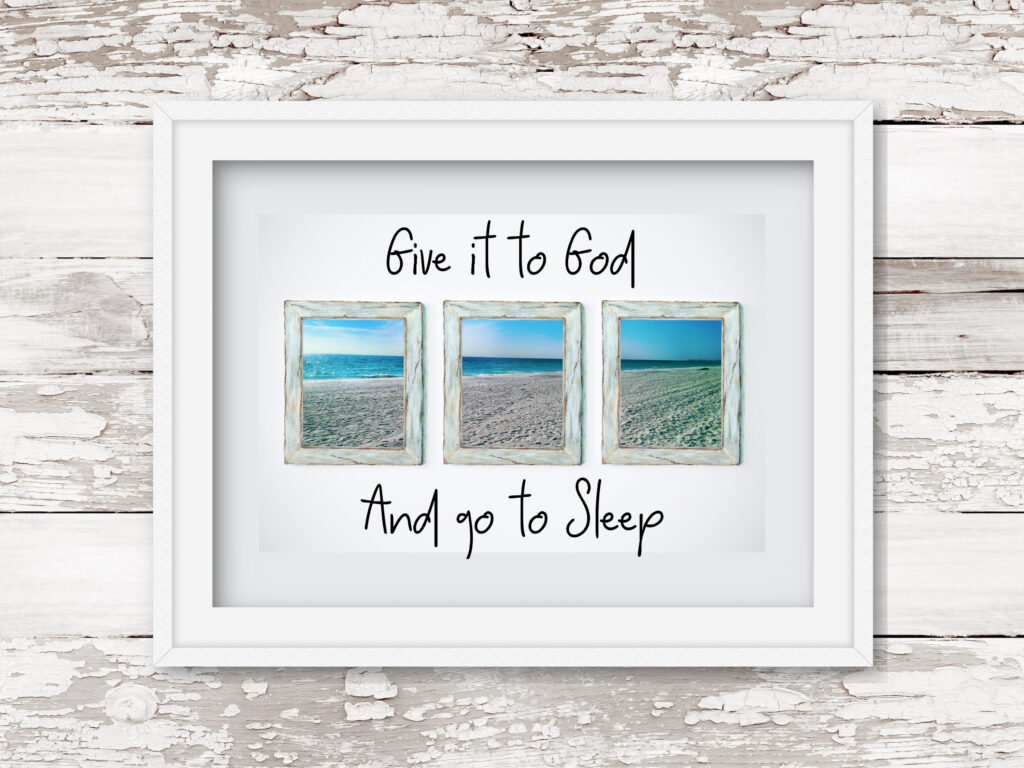
The other beach quote was: “Give it to God and Go to Sleep”.
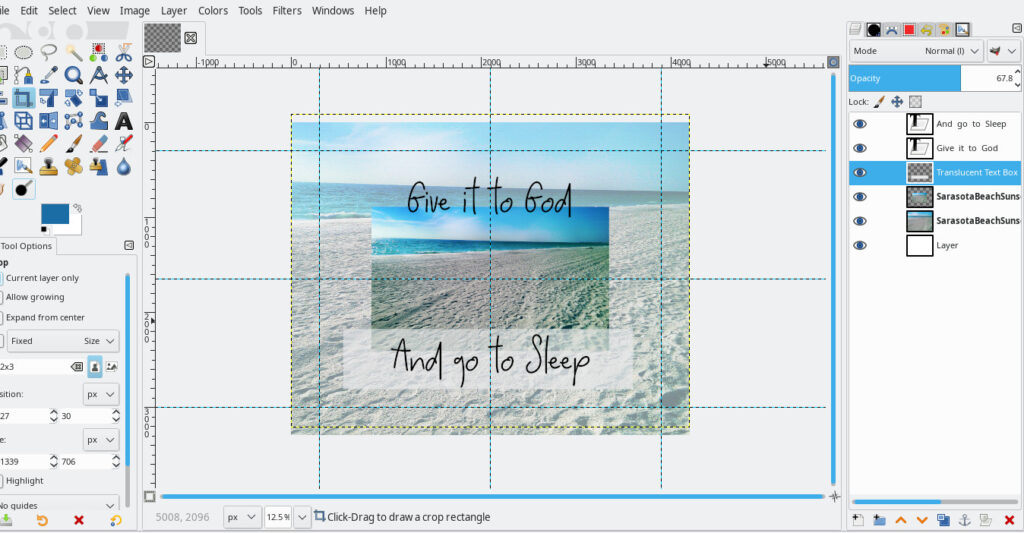
Well, that’s not usually on a beach photo but it works perfectly for me. Sort of like a deep sigh right before bedtime, you know?
Any sentiment of your choosing would work great for this.
Add the Right Font for Your Beach Vibe
Don’t forget to play around with the fonts on these printable wall decor beauties.
If you’re using them for personal use, you can use pretty much any font you want.
The fonts in my beach artwork are for commercial use because I sell my art printables.
So when choosing your fonts, the end use of your beach art is important to consider.
And the feel you’re looking for is vitally important, as well.
Prepping Your Coastal Living Beachy Wall Art
I also worked my beach picture another way.
Using that same beach photo with the zoomed-in-and-cropped background, I worked another layer on top containing my own original artwork of driftwood frames.
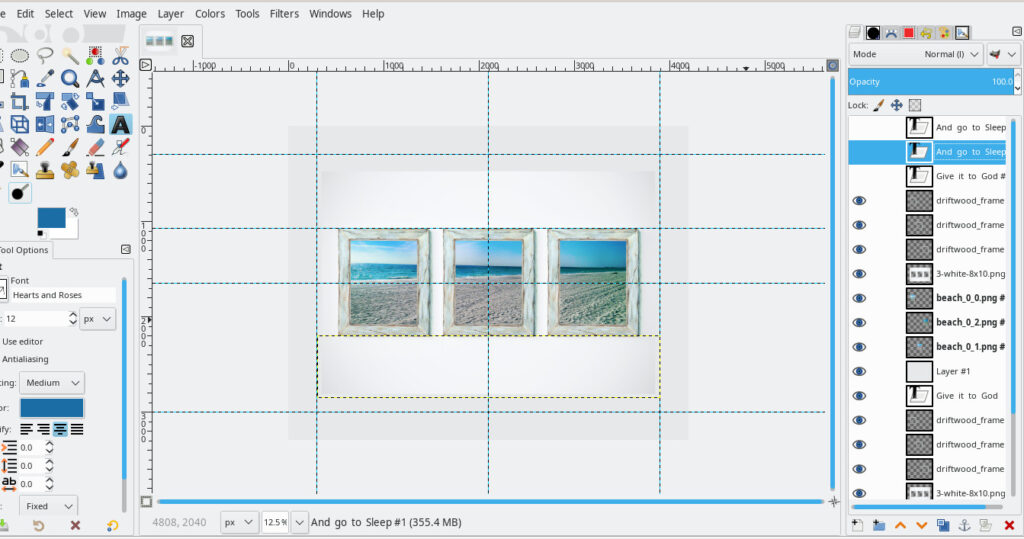
I placed cropped pieces of the beach photo inside the frames.
This technique really gives a different beachy feel. And I like it.
What I want you to think about is that you can add your own art to your own photos – like I did.
You could draw a seashell. Or sea grapes. A seagull would be lovely.
Not sure you can do that? Well, I really think you can! In any case, if you want to keep things easy, you can trace a picture of a beachy item you like and ink that tracing.
Practice a few times and I think you’ll be pleased with the result.
Next, scan your artwork in to your computer (you can even use your phone and take a careful picture) and add it to your beach photograph. (You’ll want to delete the background first. If you created your artwork on white paper, it will be fairly easy. Here’s a straightforward tutorial to get you started.)
Play around with your beachy wall art until you’re happy with it.
As I mentioned before, this process really personalizes your beach memories.
Certainly helps me feel as though I’m right there at my favorite beaches.
Beach Bedroom Decor? Beach House Gifts?
Here are the final results.
They look great. They are coastal casual, for sure, which I love. It’s even more special that they are from a beach I’ve personally enjoyed. And I love that I created this ocean artwork myself.
You can do this, too, with the summer beach photos you’ve taken! You can add the beach quotes that make you smile. Or the sentiment that melts your heart.
Doing this with your personal beach photos would make a great gift, too. Printable art works so well to bring smiles.
Print out at a local print shop you like or upload to one of the many great online print shops, such as Shutterfly.
Easy peasy! And you did it yourself. (smile)
What’s Next?
You know what else is fun to do with beach or travel photos? Use them as clip art and personalize your own printable journal pages. Here’s a clip art post where I share some thoughts on that. Check it out.
