{and get a free line art sketch of florals to use with your own paintings}
(Jump to the free line art floral sketch printable)
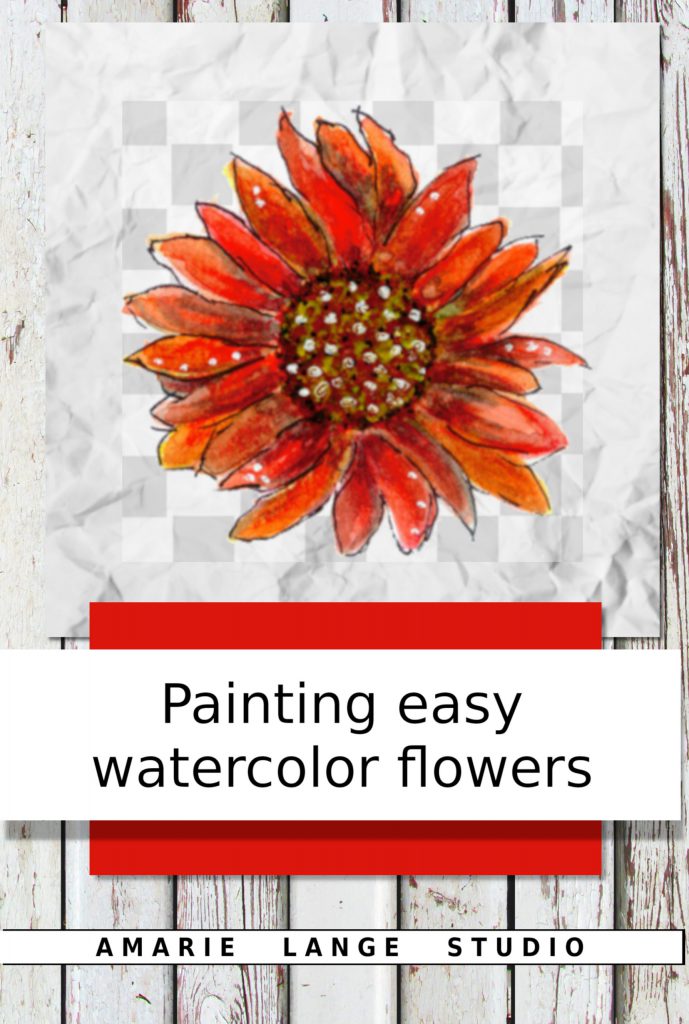
You want to learn how to paint beautiful flowers? Flower painting for beginners is one of the easiest ways to begin learning the artistic process. You might find some sort of satisfaction with your efforts fairly quickly. Learning simple art techniques for flower painting can put you on a path of true enjoyment.
You can always dive deeper into your newfound floral art education, or…you can choose to stay at an easy learning level and you will still genuinely love your budding (ooh, a pun!) art skills.
I say this as someone who is often learning new artistic skills. While I naturally have a good eye for design, getting those visuals out of my head and through my hands has been challenging.
So it’s not a surprise that with each new art skill I pick up, my entire creative arsenal grows in leaps and bounds.
You can have this fun, too.
Let me share with you a few simple flower painting techniques.
How do you paint a simple flower?
These steps will not enable you to draw or paint super-realistic flowers. I want to be clear about that. We’re going to learn about the shapes, lines and color that help our brain say “yes! That’s a lovely flower!”
This is also not a botanical lesson. These are flowers that come from my head and heart. I often do use reference photos to get started, but rarely finish my artwork still using them. And as you can see on this post, all these flowers are different.
This is a simple step-by-step description of how I paint many of my flowers. It is not very complicated on purpose nor is it a full-on tutorial. I want you to try your own ideas and mix with mine!
Easy Flower Painting Ideas – Painting Flowers in Watercolor
I start my sketch in different ways depending upon the type of flower I am drawing.
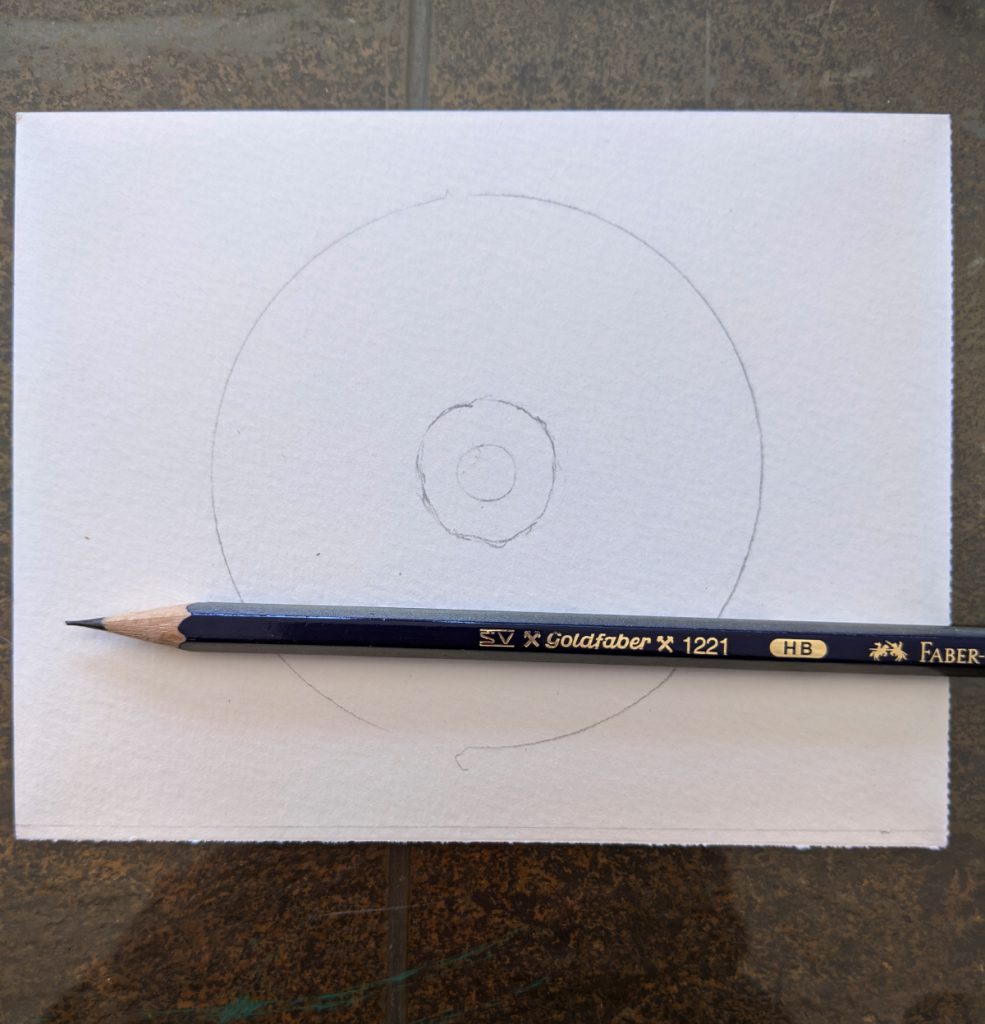
Here I start with a circle the size of the flower I will draw. I’ve darkened this photo so you can see the circles. The larger circle will be the approximate size of the outer rim of the flower petals and the inner circles give me a sense of the center of the flower.
None of these circles mean I must adhere to them strictly for the size of the flower. They are simply guidelines for my drawing.
After I draw these circles for my floral sketch, I erase them so they are very faint. When I apply water on this paper to activate my watercolors there will be no more erasing – so the time to erase is now.
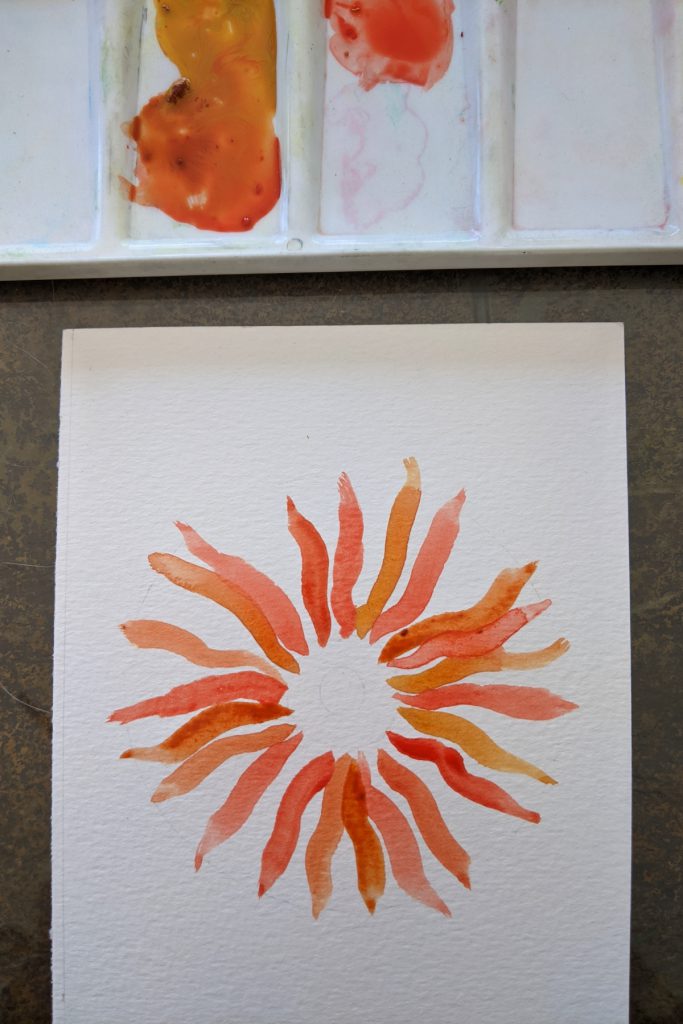
Now I add my first layer of watercolor to the flower painting. You can certainly follow a reference photo or an actual flower (and sometimes I do) but in this case this awesome little flower is coming straight from my head.
I used a small angle brush to make these first petals. Also I keep dipping my brush into slightly different hues in order to create a more organic floral shape with depth.
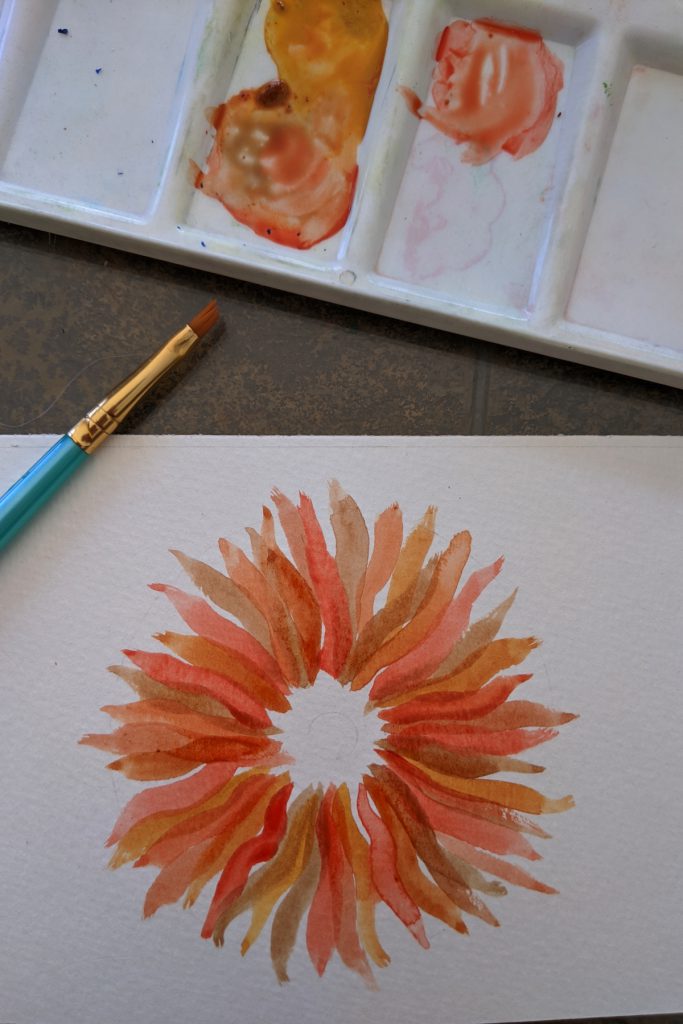
Keep filling out the lovely flower painting with more and more watercolor petals of varying colors.
Don’t try to be too exact unless you’re attempting to follow a flower with realistic precision.
In nature, not all the flower petals are the same exact size, shape or color, so my flower benefits from a certain amount of randomness. It’s really taking shape!
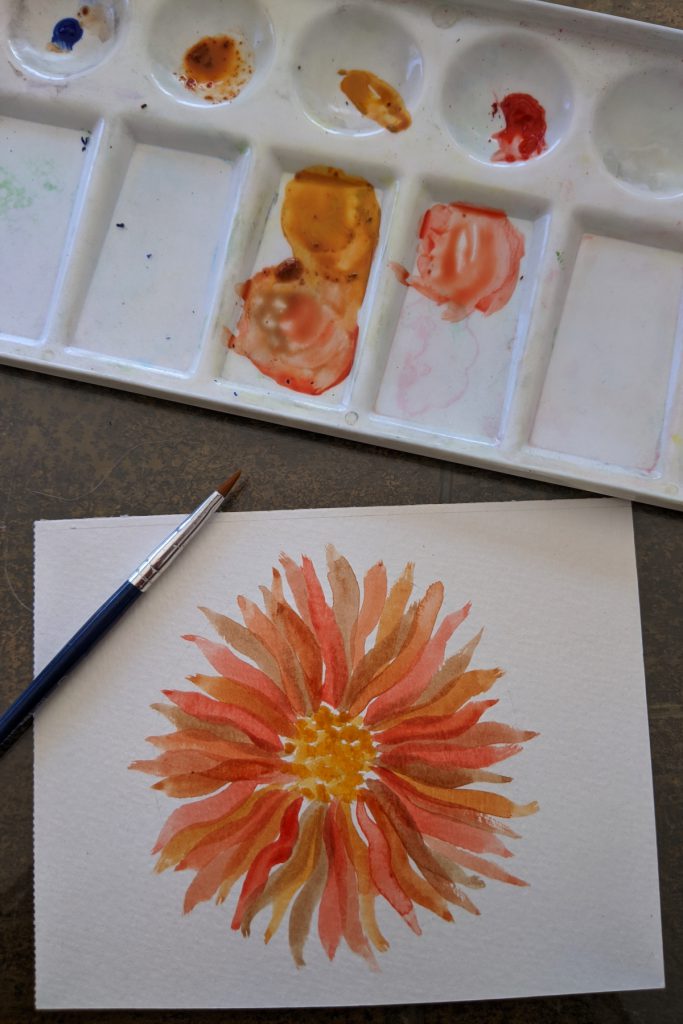
You can see I’ve allowed the contrasts in the watercolors to add shading and depth to this flower painting. And I’ve added the first layers of my flower’s center. I let the layers dry between adding more depths of watercolour.
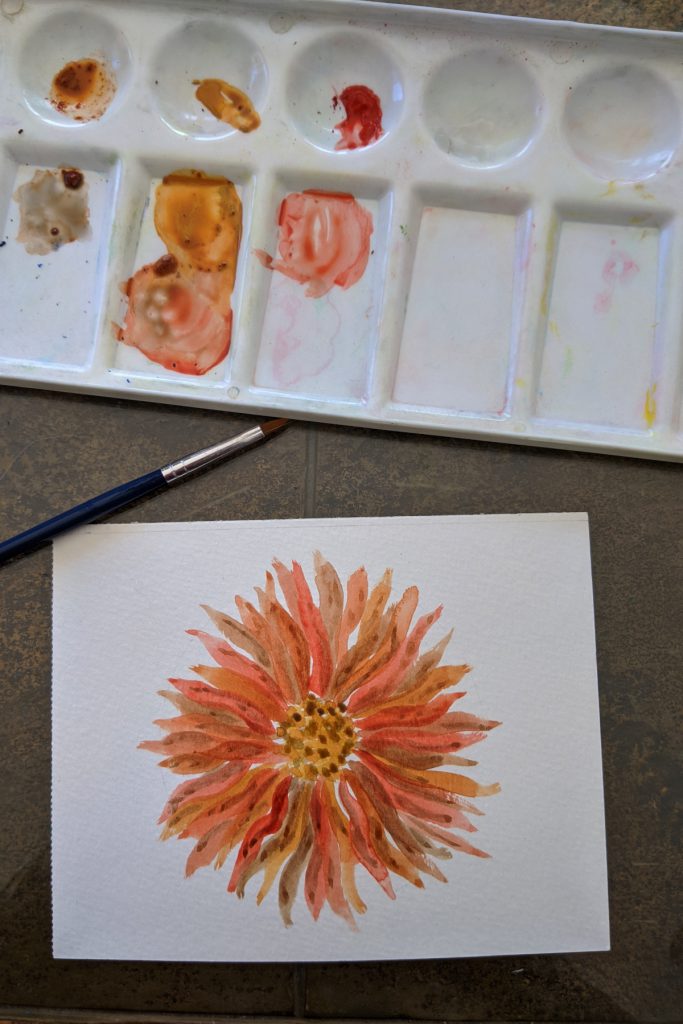
In this photo you can see the next layer of watercolor is used to add texture to the petals and the flower’s center. The watercolors have deepened and the layering has done its work. It’s now time for the final design details.
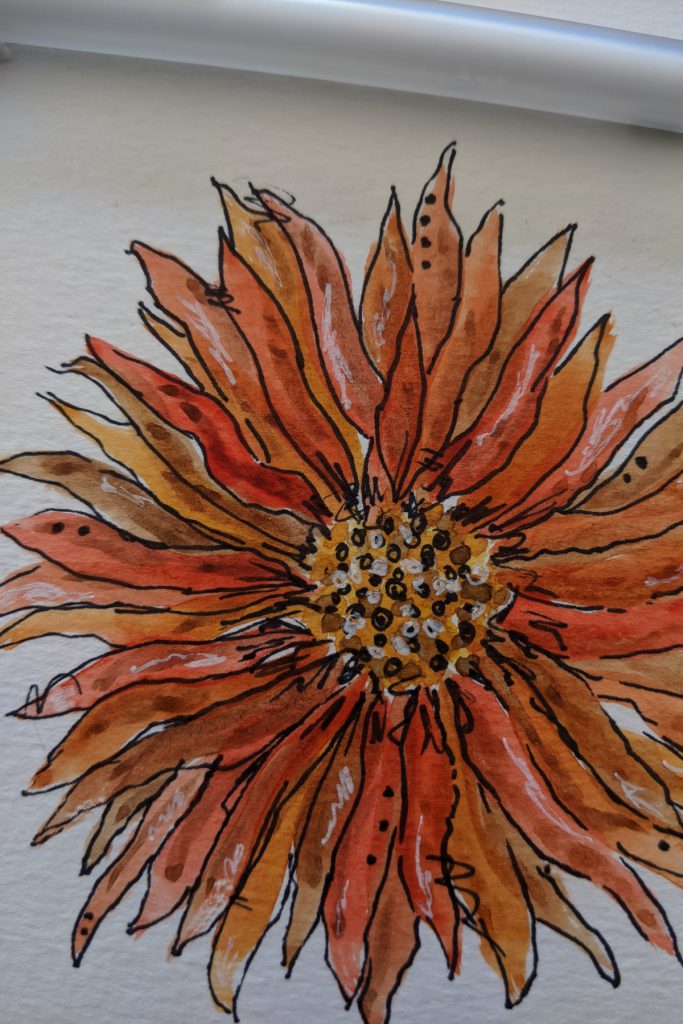
I love to finish off much of my artwork with ink. I love the whimsical feel of ink over watercolor. To do this for the first time, you might want to practice your ink strokes on a scrap of watercolor paper.
I also add white highlights with either a tiny liner brush with opaque white watercolor or I use a white gel pen or white chalk pen. In this drawing I used the white gel pen to get the stand-out details I want.
A Blue Watercolor Flower
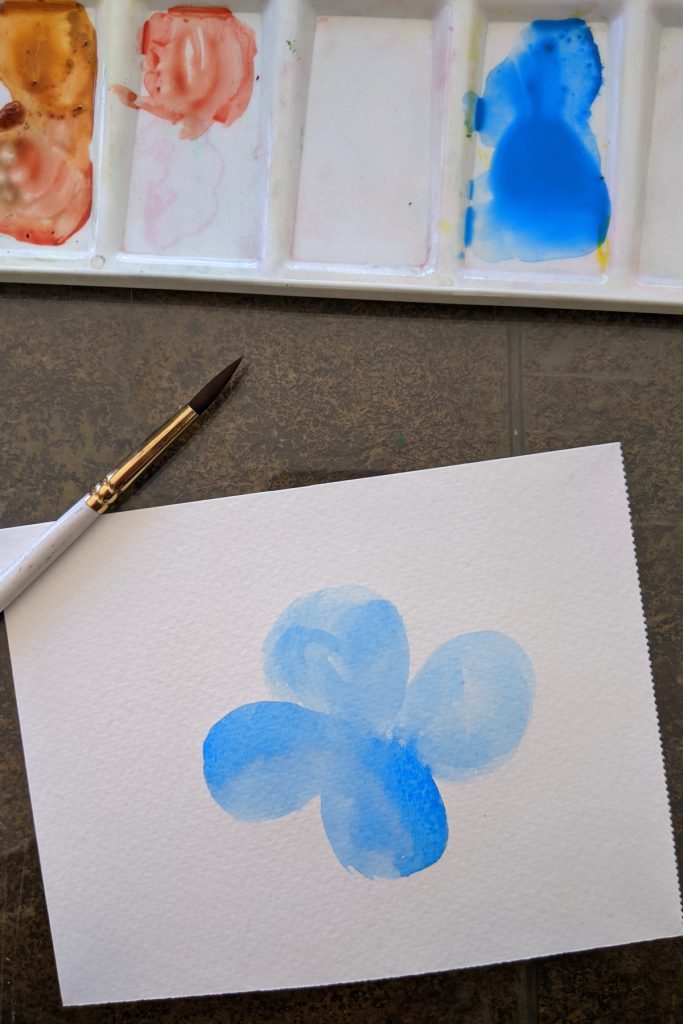
I started this sweet little blue flower with no sketching.. I used a round brush to create simple petals, each one a little different in both shape and size. And the watercolor brushed on different for each petal, too.
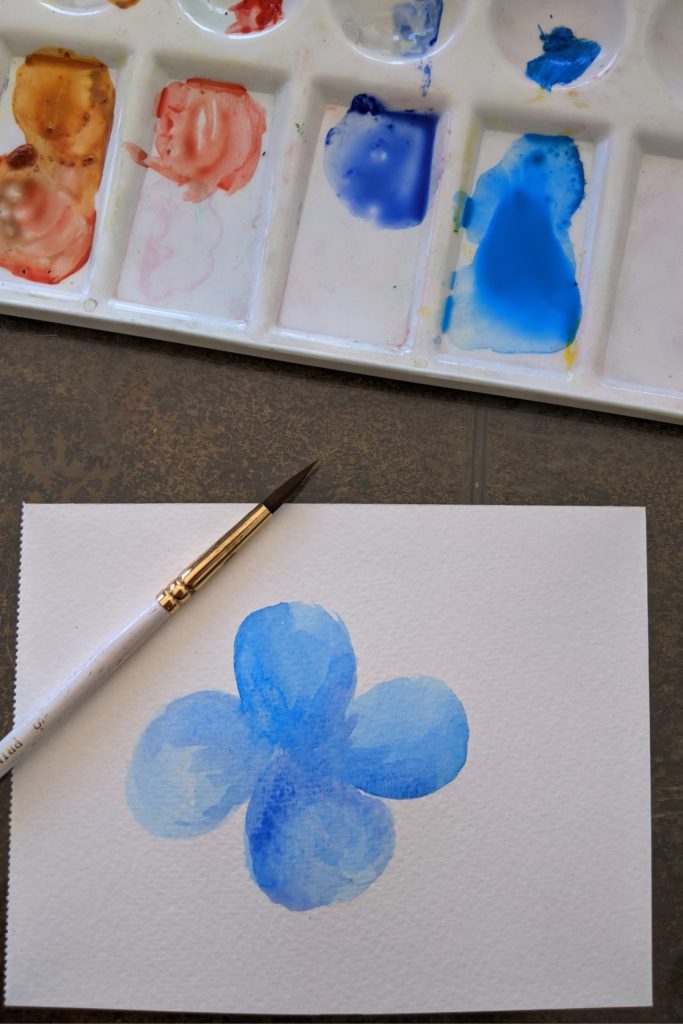
This second layer of watercolor for this blue flower really deepens the flower petals with contrasts. I did not wait for the petals to dry between layers so the watercolour was free to do what watercolour does beautifully!
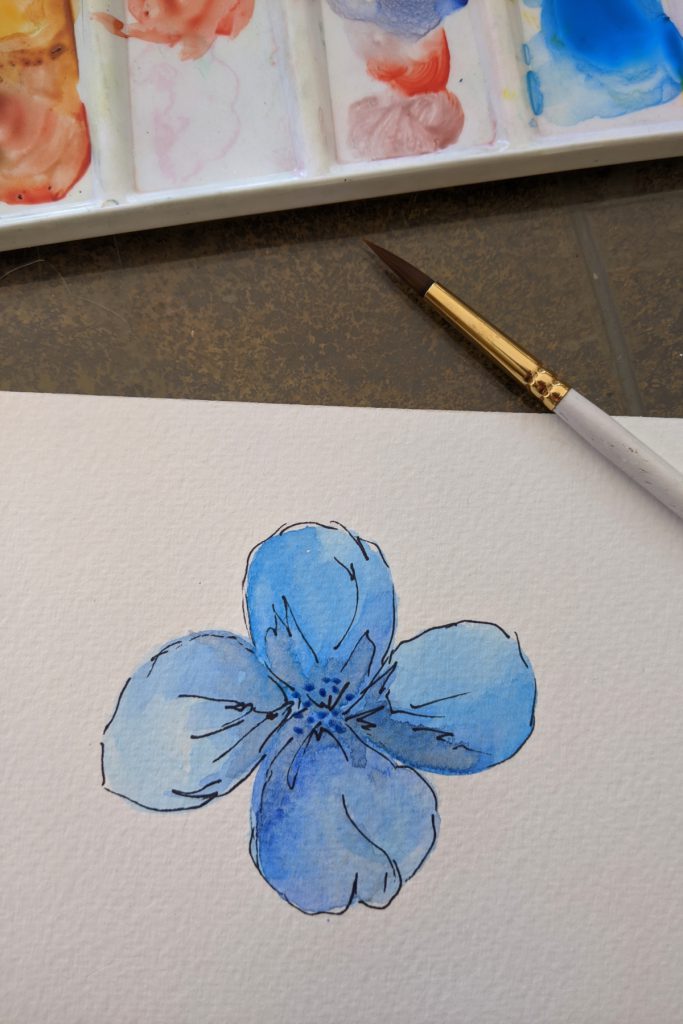
As I’ve already mentioned, I love to use ink along with watercolor for my floral designs. Sometimes I add the ink first (make sure your ink is a waterproof pen if you go this route) and sometimes, as in this case, I added the ink at the last after the watercolor is completely dry.
Adding the ink lightly gives tremendous definition and whimsy to this flower. I can also hint at petal shapes and folds with the ink.
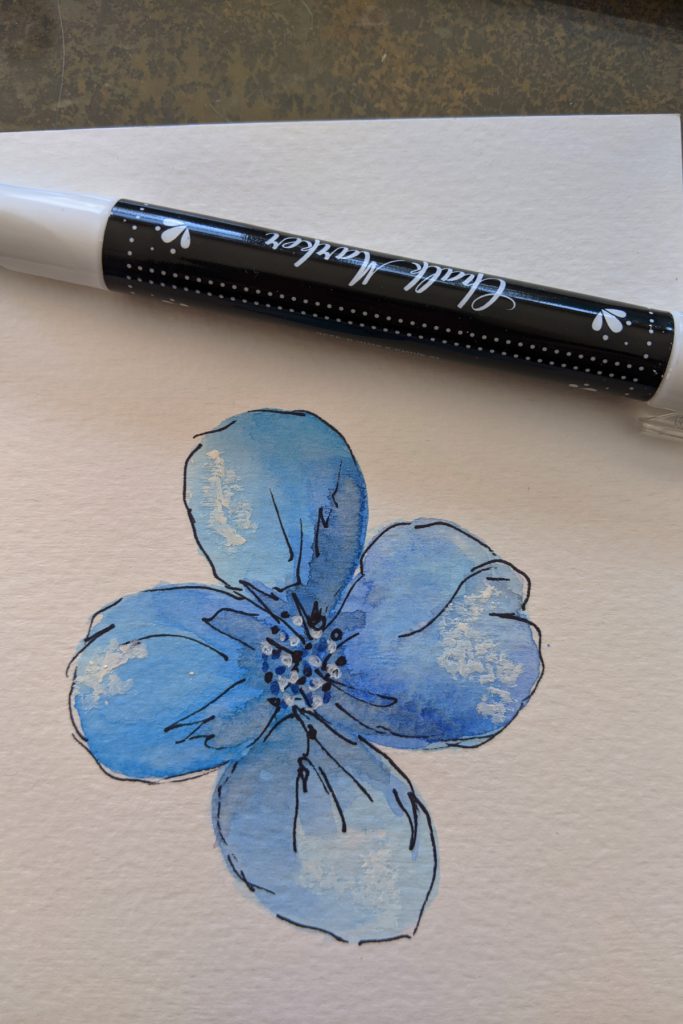
In this flower painting photo you can see I have added white highlights to my blue watercolor flower drawing. I used a white chalk marker and it does an outstanding job of adding texture along with the highlights on this lovely blue flower.
Creating a Yellow Flower Painting With Watercolors
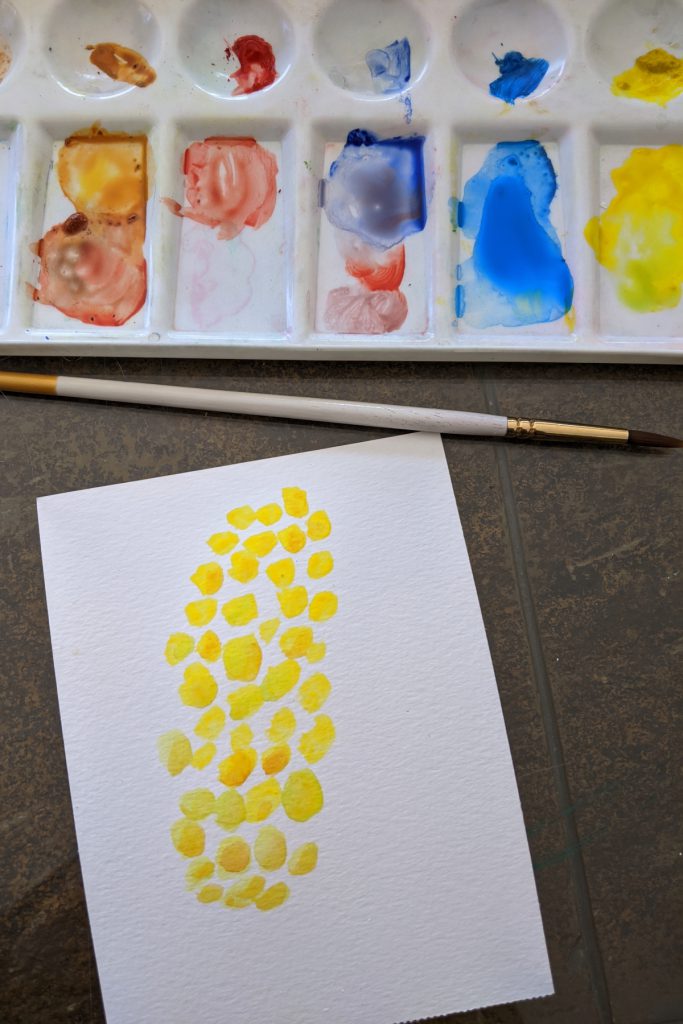
This flower painting is also from my head but of a different variety entirely.
I did not sketch out this flower design in advance but simply started using my round brush to lay out a pattern of tiny roundish yellow petals. Then I carefully varied my yellow watercolor hues picking up a tiny bit of different yellows each time and adding in the smallest amounts of red and green. I added those additional colors to mostly the same side of the petals; as I add more watercolor layers to this flower this base layer will be a solid foundation of shading and color.
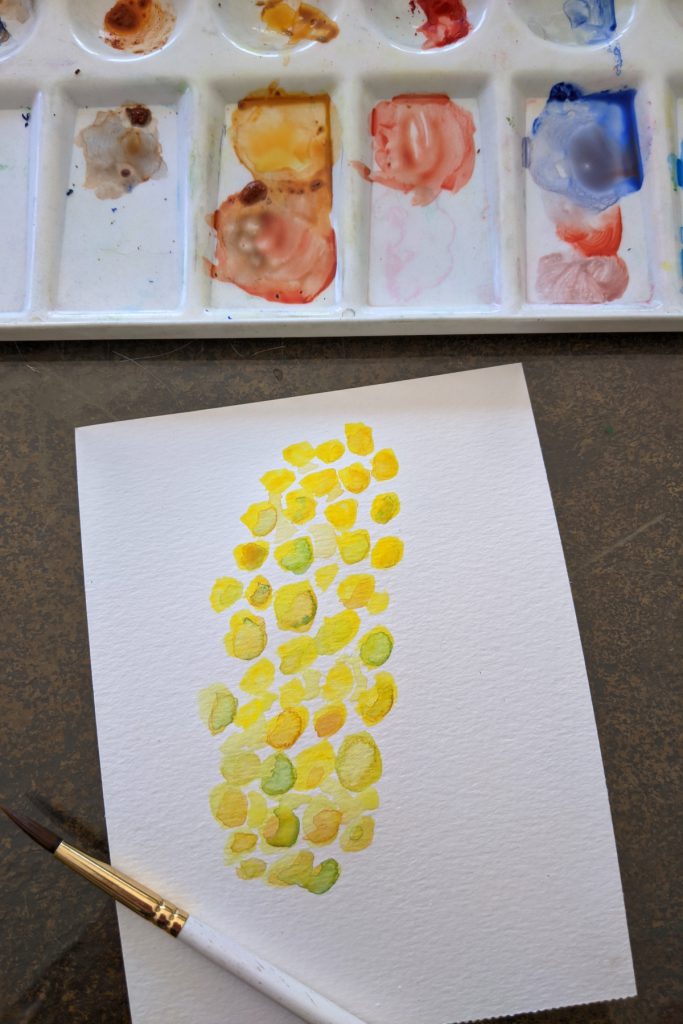
These next layers of color will help enhance the original yellow watercolor layer. These artistic layers add depth and contrast so that each of these little petals can pop. Being random prevents the petals from looking flat and drab. For help with this, take a long look at the way sunlight plays off a live flower of this type next time you’re in a garden.
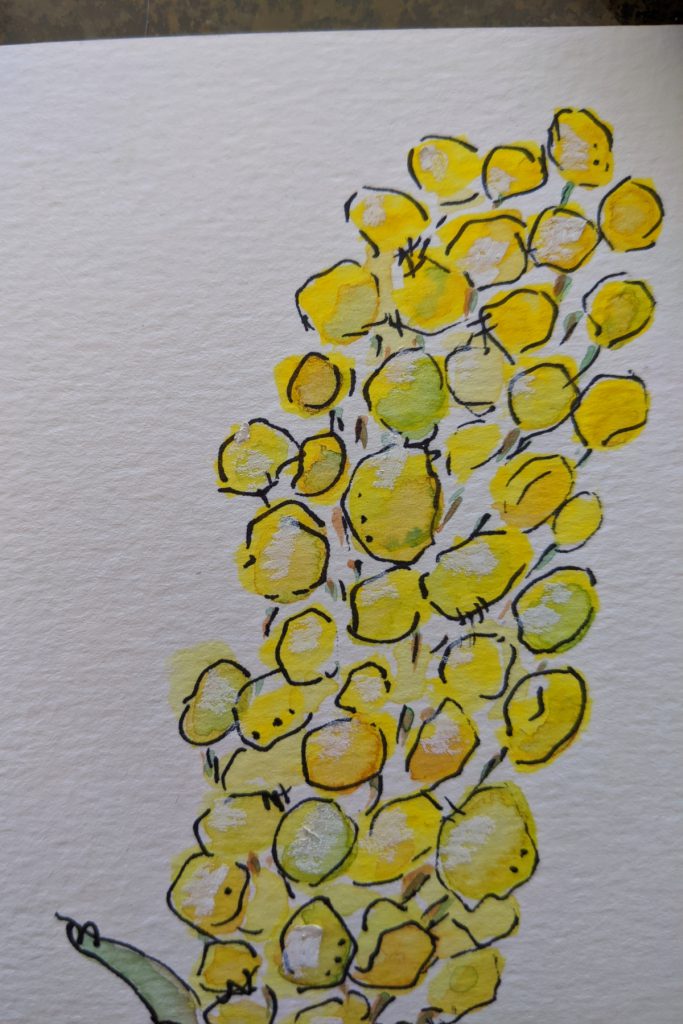
Time to ink! You can also see I added the tiniest of watercolor stems to this flower painting and gently inked those as well.
I also added a stem and a few leaves on this flower; not something I did with the others. I will use these flowers in a variety of digital artwork pieces. I can add more leaves at that time, if my design warrants it.
Try this watercolor process if you’re curious as to how it works for yourself. It’s so much fun to dab these flowers into existence from your own head and heart.
Make a grouping of translucent watercolor florals and use on a printable wall art piece or a card or on your own custom stationary.
Since you’ve read this far, I want to reward your hard work!
A free downloadable pdf of the flower shapes used in this tutorial.
You can trace these on art paper and practice until you develop your own shapes.
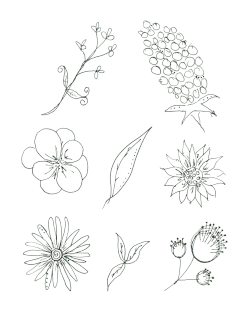
Click on the download button to get your free printable flower sketch sheet.
Perfect for tracing onto your own art paper and then filling in with markers, paint, colored pencils, whatever you love to use to create beautiful things.
So much fun and lots of possibilities.
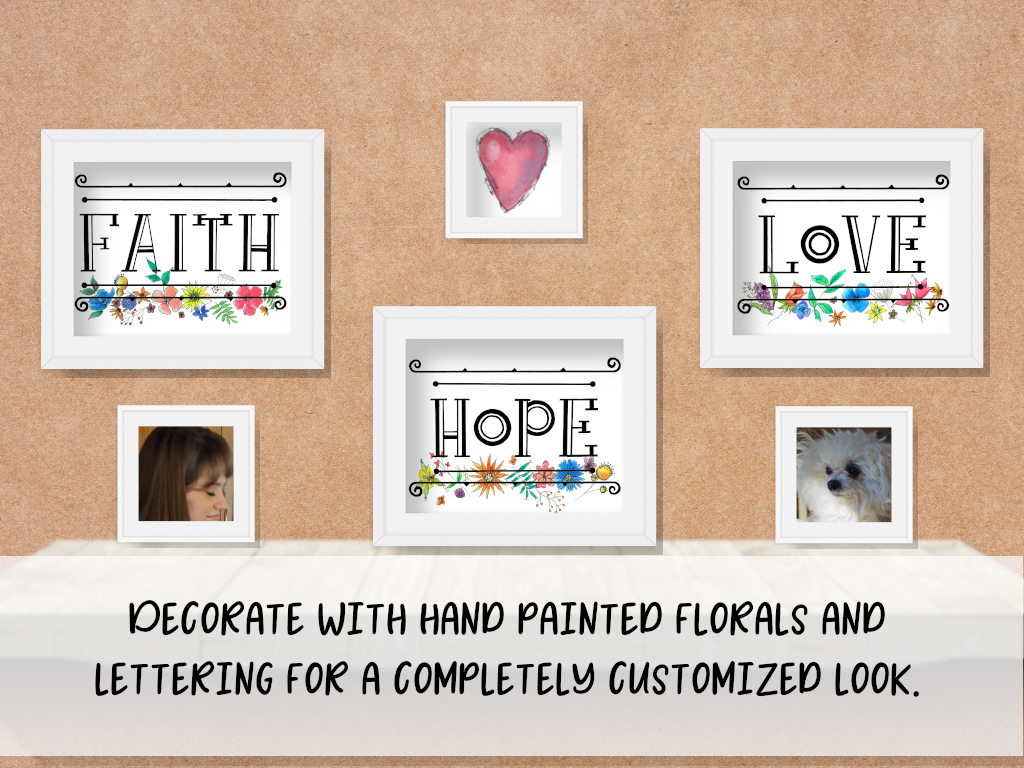
Below is a graphic of some of my watercolor flowers. See how you can add easy little flower paintings to other artwork – in this case hand drawn letters – and even mix the art with your personal photos for a super customized look?
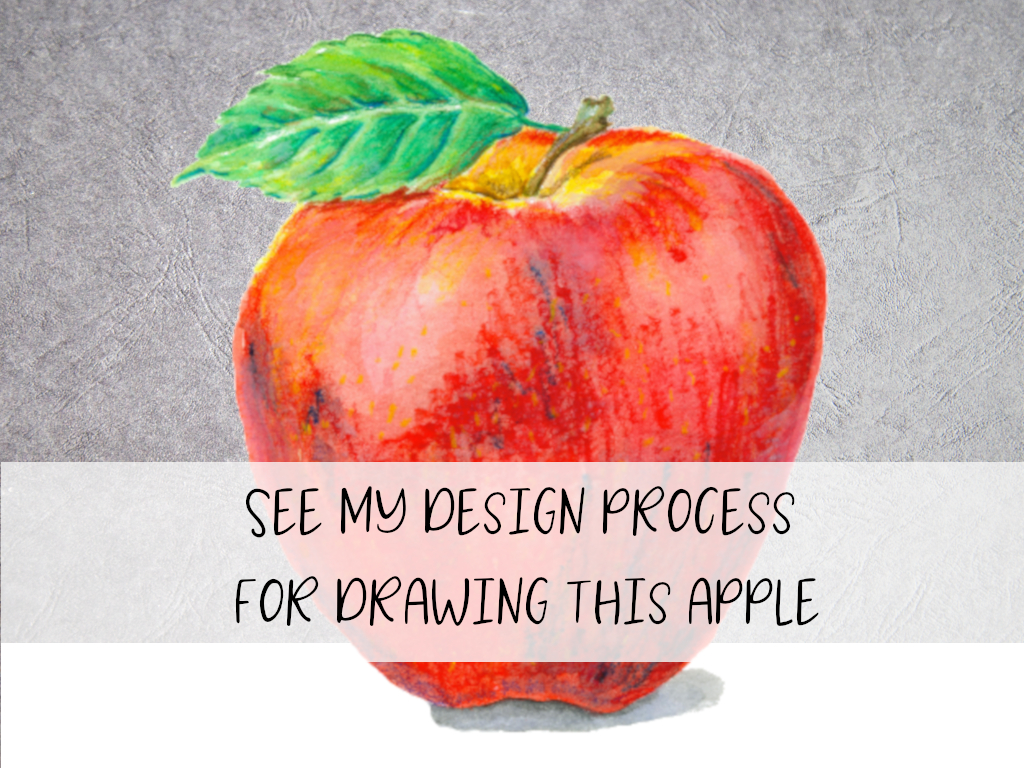
Want to see more of my design process? Click here to see how to draw an apple – one of my favorite things to draw and paint!
