- Use Handmade Clipart and Add Art You Love Into Your Everyday Life
- What Are We Making
- Choose Your Gift Tag Making Tool
- Canva for Making Gift Tags
- Make Gift Tags Using Clipart With Transparent Backgrounds
- Printing and Cutting Your DIY Gift Tags With Handmade Clipart
- The Finished Hand Made Gift Tag
- What’s Next?
Use Handmade Clipart and Add Art You Love Into Your Everyday Life
I design and paint watercolor printable art. Using that artwork in practical ways is the name of the game for me.
Sure artwork can be hung on a wall and enjoyed, but there are countless everyday items that can be easily upscaled and add a pop of art right where you need it.
The skills required are straightforward and can be used over and over again.
What Are We Making?
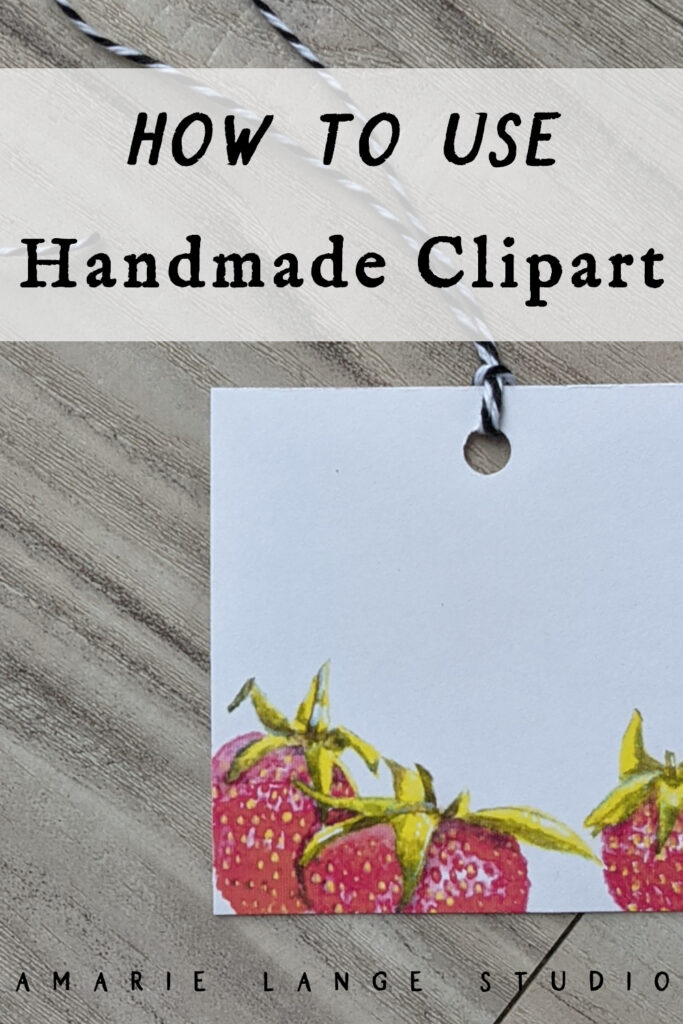
So today I’ll show you how to use artwork to create your own printable gift tags.
I’m going to be using my downloadable watercolor strawberries, but you can use any art you love.
Choose Your Gift Tag Making Tool
You have some options for tools you can use to make printables such as gift tags.
I use Gimp which is a free image manipulation software program. Gimp is a lot like the popular Photoshop program, but as I said, Gimp is free whereas Photoshop is quite costly.
Both will work great for making diy gift tags using hand made clip art.
However both of these tools have a pretty steep learning curve.
If you’re going to do lots of creative manipulation of digital art images, then learning Gimp or Photoshop is a good idea for the long haul.
However, if all you want to do is make simple graphics design projects like these printable gift tags, then you can also use other simpler tools such as Canva.com.
Canva has both free and paid versions. Let me show you how I used it for this gift tag project
Canva for Making Gift Tags
For this project I used the free version of Canva. If you’ve used Canva before this will be super easy.
If you haven’t used Canva before, this is a great project to learn on.
You’ll need to set up a free account. Then navigate to the “Create a Design” section. I used the 8.5″x11″ template because I am using my free gift tag template and it’s designed to fit on a standard letter sized sheet of paper.
You can download the template right here.
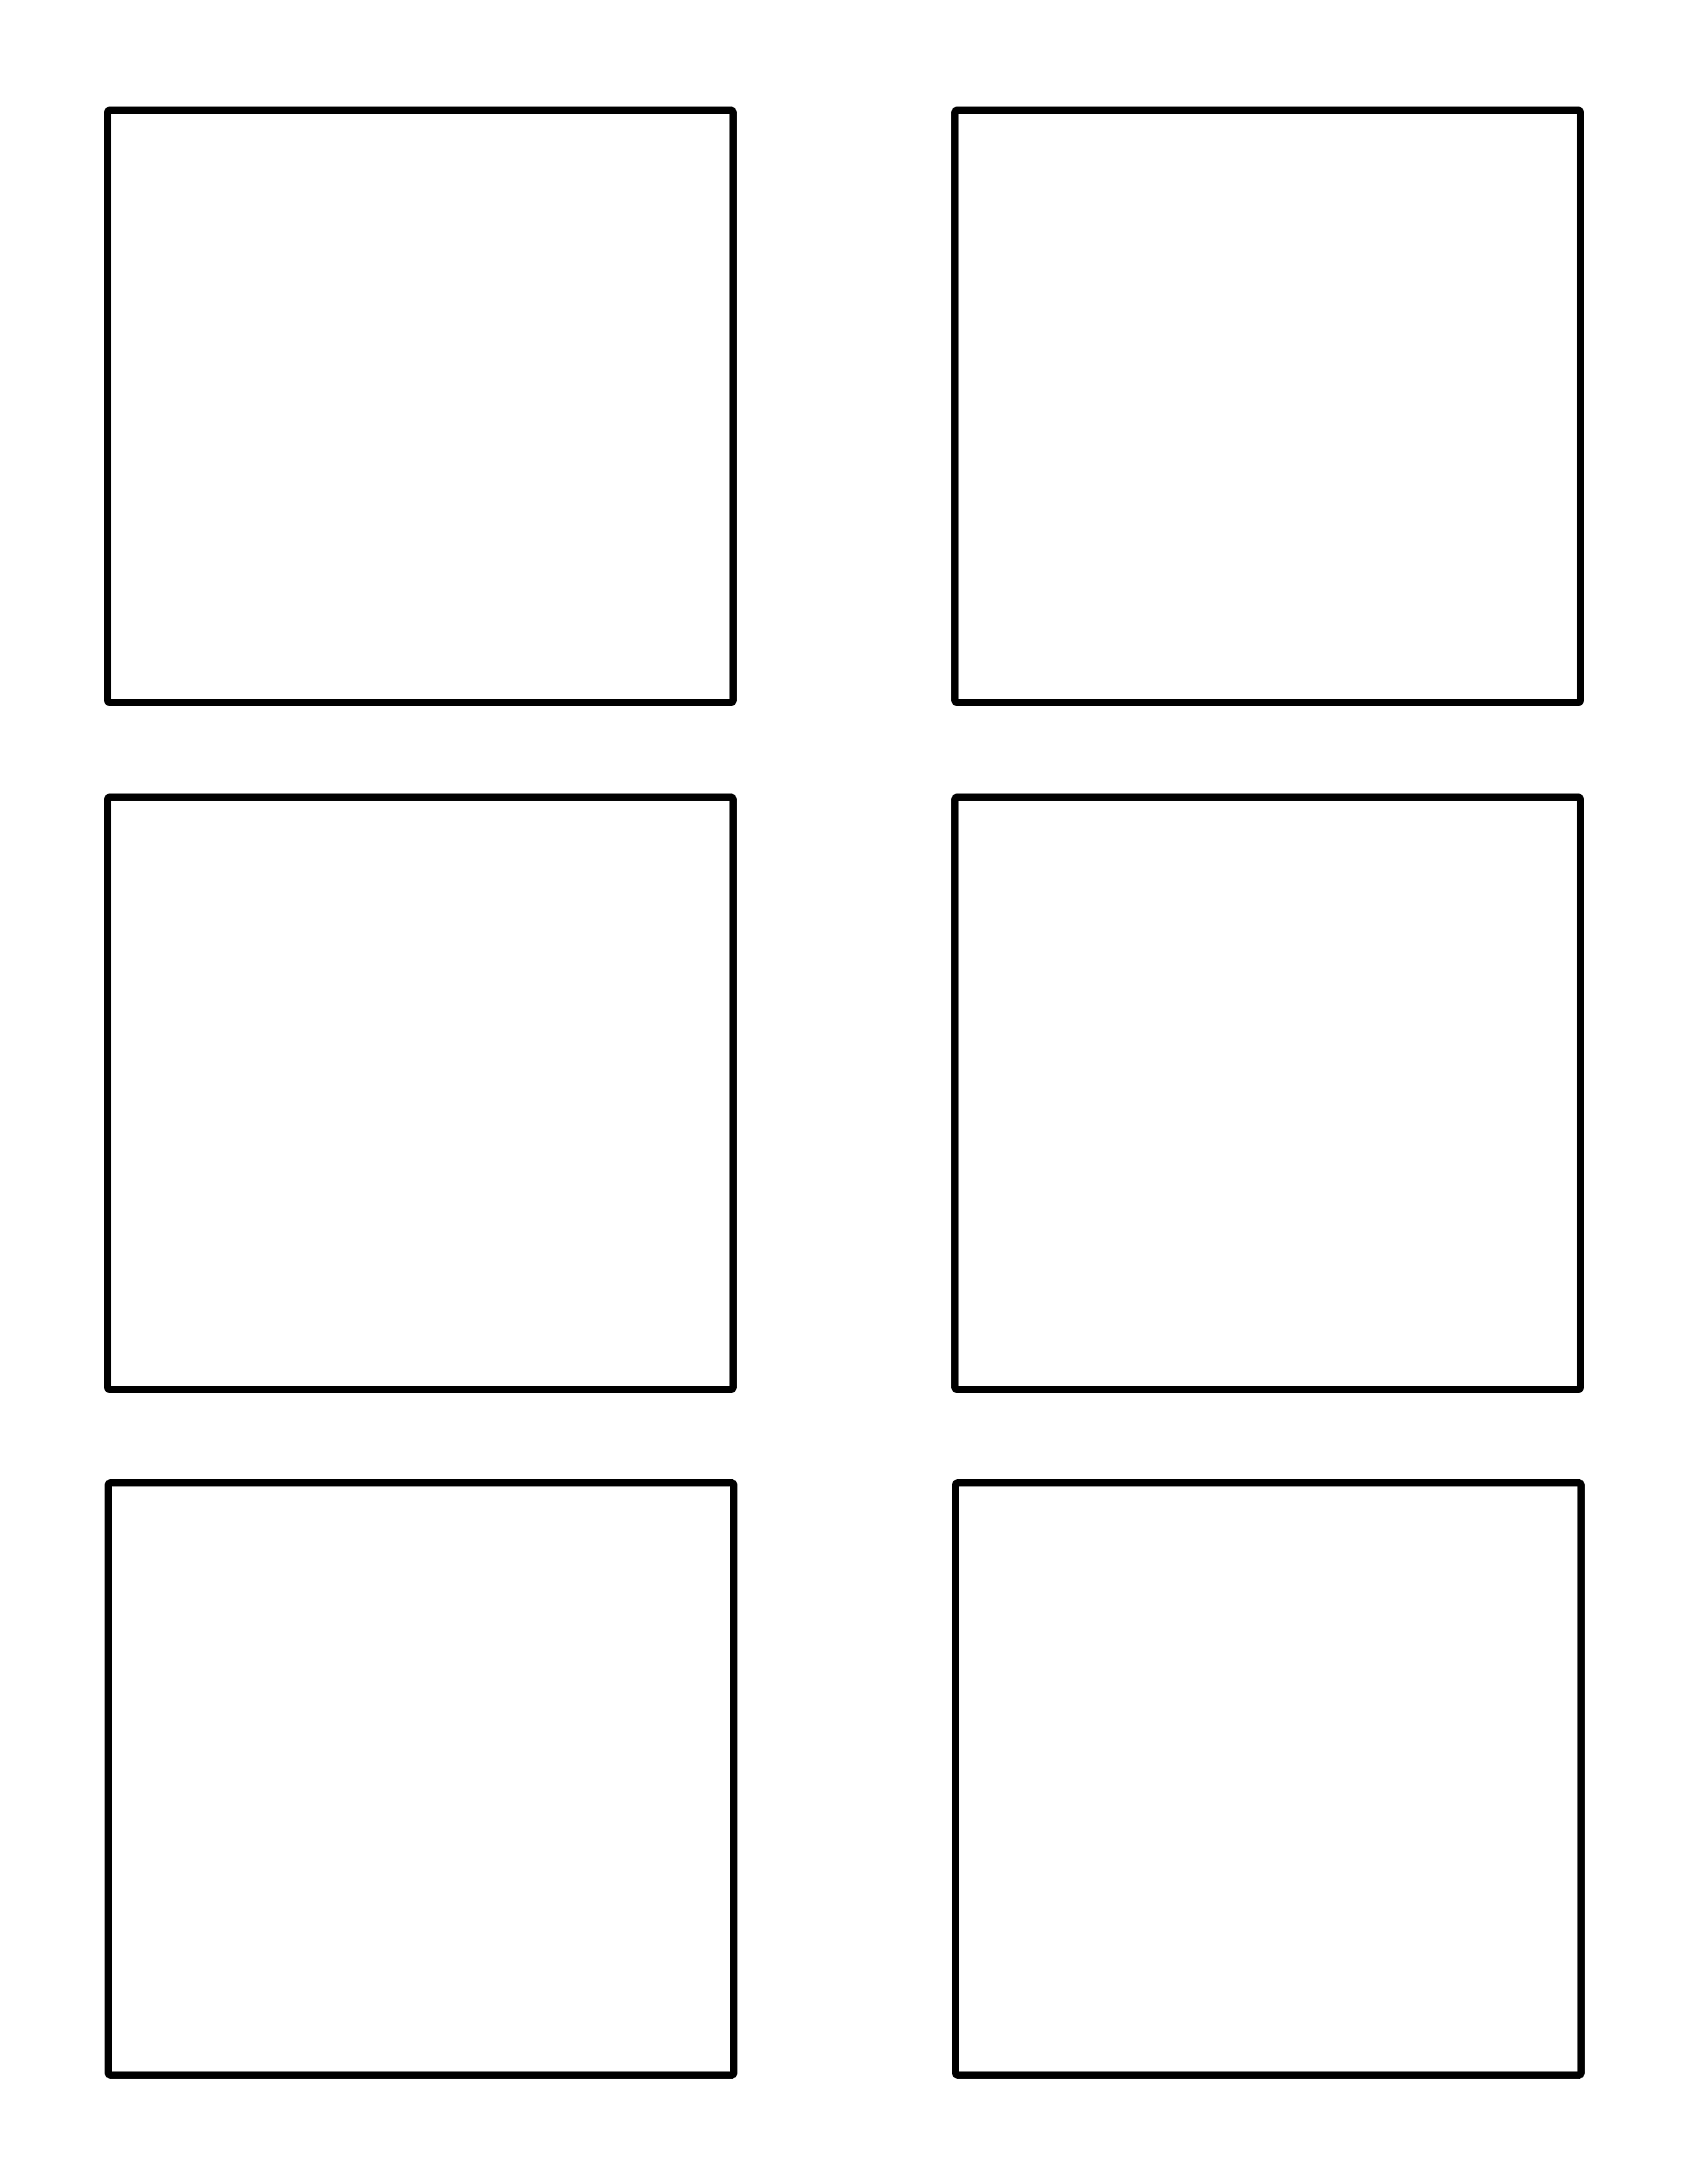
Next go ahead and upload the art files that you want to use to make your gift tags. Make sure you’ve also uploaded the free gift tag template. (You’ll need to download the free tag template from this post to your computer; then upload that same file to Canva.)
I’m using my Watercolor Strawberry handmade clipart. (The link takes you to my Etsy Shop.) Use my clipart or your own. Whatever works best for you.
Once you get your files uploaded to Canva take some time to play around a bit. Here is a screen shot of the gift tag project I did in Canva.
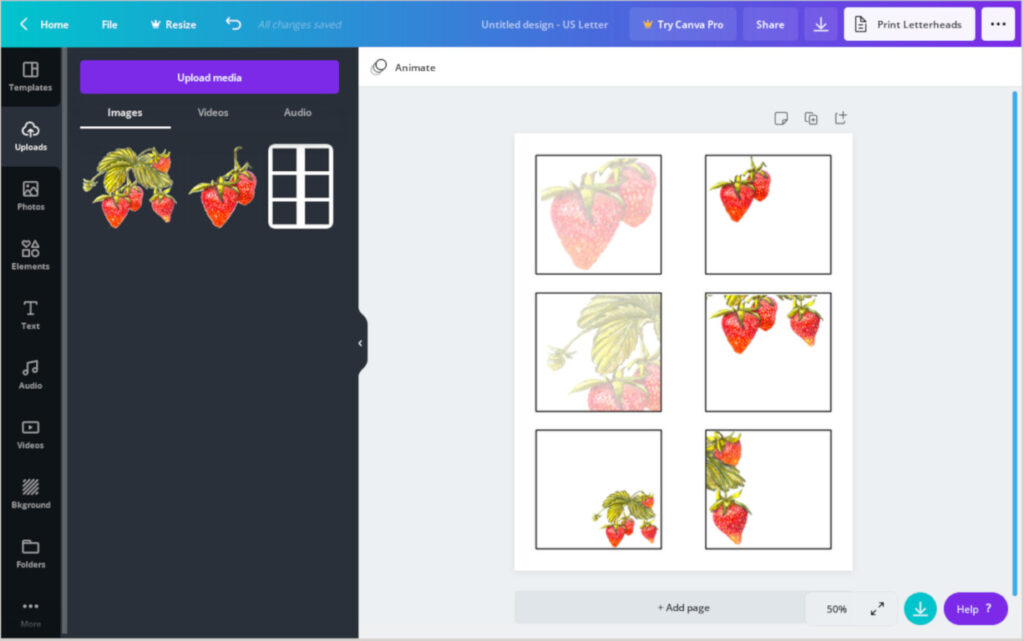
You can see how I took the same couple of digital handmade clipart files and made them smaller or larger to put in my tags.
On other tags I decreased the opacity of the digital clipart so that I can write over the top of the artwork and still see both the text and the artwork.
Playing around with these files will show you how easy it is to do simple projects like this in Canva.
When you’re finished making your gift tags, just download your file and print.
Make Gift Tags Using Clipart With Transparent Backgrounds
Using Gimp is a bit different than using Canva to create your gift tags.
First of all, using Gimp’s layer feature makes popping digital clipart in and out of your gift tag template very easy.
Start by settng up an 8.5″x11″ canvas in Gimp.
After you upload the template and your clipart into Gimp, you can take advantage of the fact that I’ve created your gift tag template as a .png format and on a transparent background.
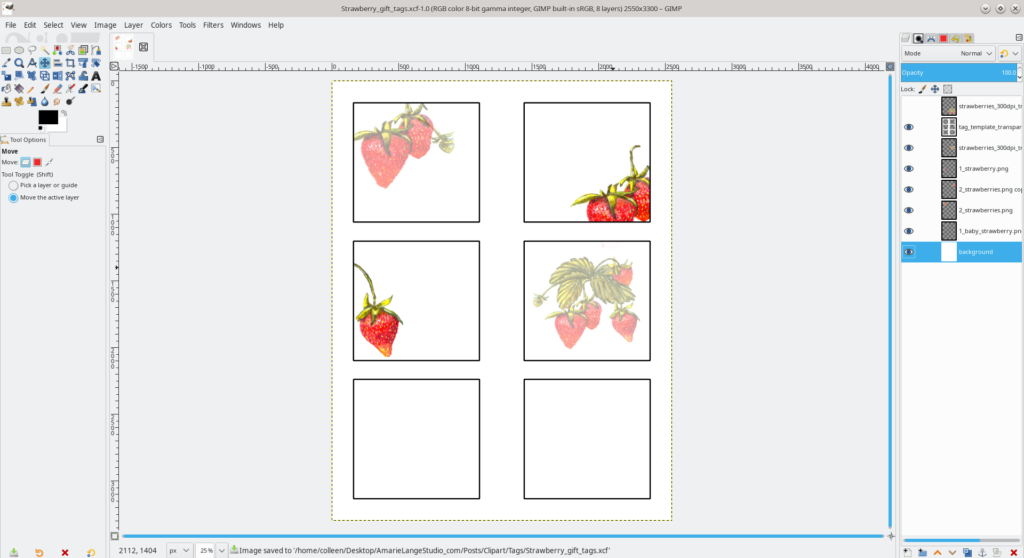
This allow you to position your handmade clipart precisely behind the tag layer.
As in Canva you can resize and rearrange your clip art to your heart’s content.
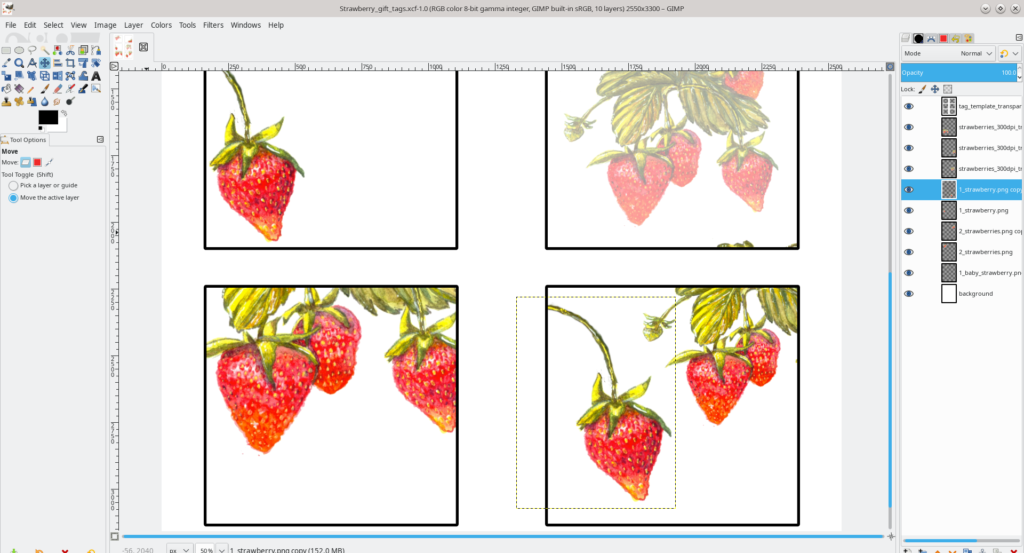
You can also change the opacity easily.
Truthfully, I find Gimp easier than Canva but that’s because I use Gimp more than Canva and it has so many more features.
Printing and Cutting Your DIY Gift Tags With Handmade Clipart
When I’m ready, I like to flatten my layers in Gimp, then export as a .pdf file for these gift tags. If you’ve used an 8.5″x11″ canvas, your exported .pdf file will be all ready to print.
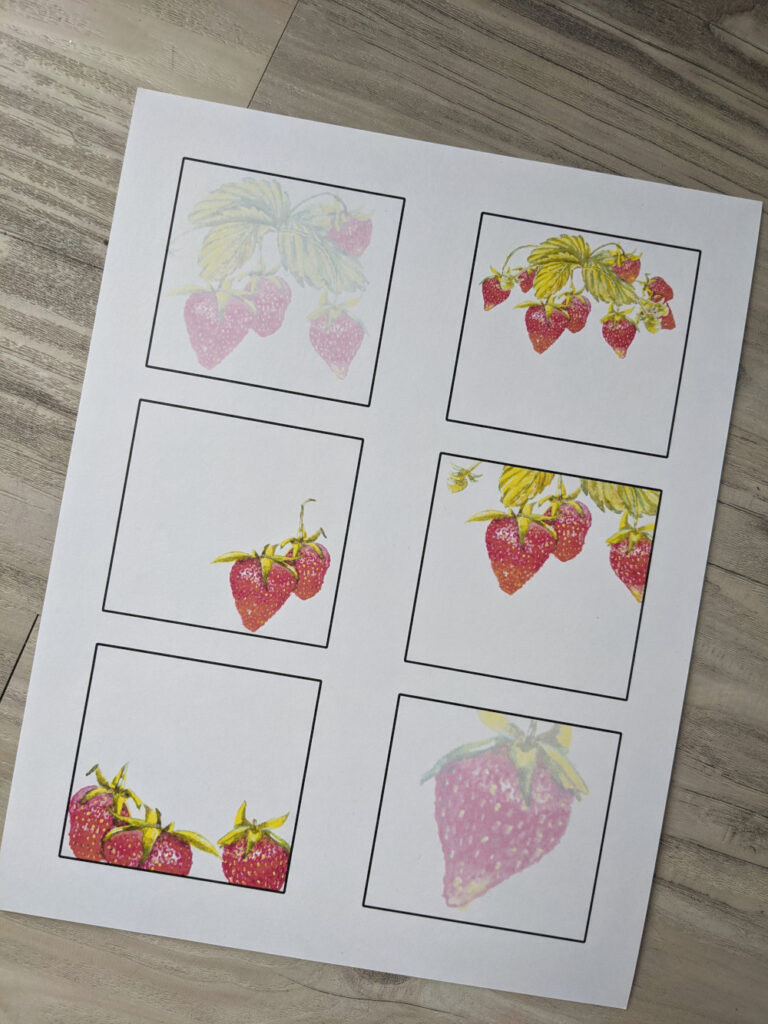
You will notice that I’ve added black cutting lines for your gift tags on the template.
Use these lines to either cut INSIDE the lines for your gift tags or cut just outside the lines for a framed look.
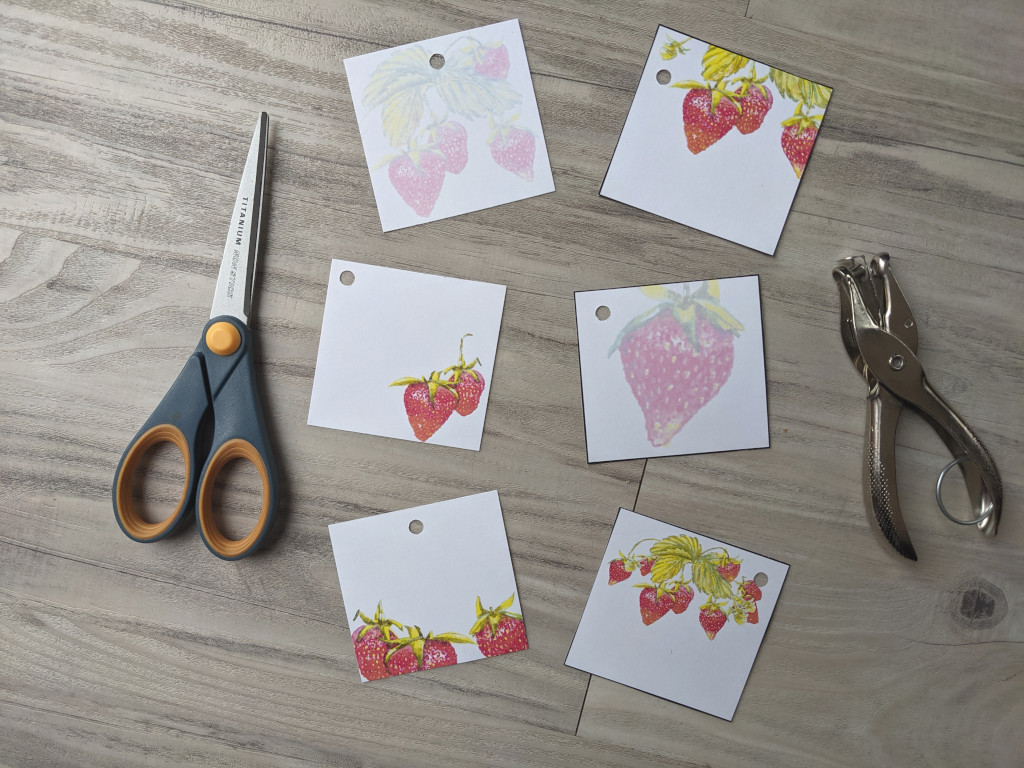
I’ve cut some with the black lines and some without so you can see the difference.
Either way is just fine; depends on the look you want.
The Finished Hand Made Gift Tag
Once you have the clipart gift tags printed and cut out, use a paper punch to cut a hole for your tag’s string.
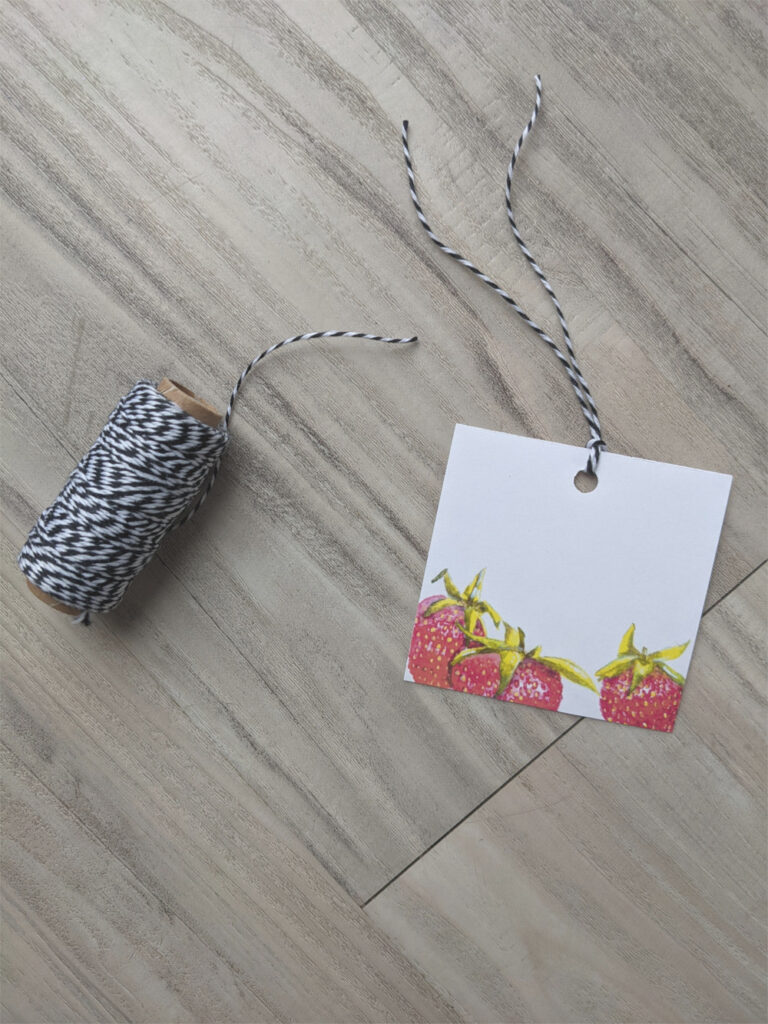
I purposely did not add a specific place for your string’s hole; this way you can decide where to put it depending upon the placement of your clip art.
They look so pretty! Make up a few sheets of these and give out as gifts, too. Everyone can use extra gift tags and using nonspecific artwork like these strawberries means you can use these tags for any gift-giving occasion.
What’s Next?
Would you rather explore using artwork in different ways or making the artwork yourself? Or maybe both!
Go ahead and click through to either of these categories – Making Art or Using Art – and take a look at other fun art projects I’ve made for you to explore.
Enjoy!
