Are you new to watercolor painting? Watercolor painting for beginners can be intimidating. Want to improve your watercolor skills? I’ll bet you do. I love to discover new painting tricks and tips myself.
Approaching watercolor painting for beginners step by step is a helpful way to learn, for sure. But watercolour is about more than just the finished painting.
Taking the time to process a few painting basics can really accelerate your skills and surprise you with the difference in your final project.
Here are 5 beginner watercolor tips that can help your artwork shine.
- Start with good quality watercolor paper
- The best watercolor brushes for beginners
- Remember to use water with your watercolors
- Discover your colors
- Start with line art
Start with good quality watercolor paper
I get it. You watch a watercolorist on Youtube and you get so excited. You want to try out watercolor painting for yourself.
Good for you!
So you grab some copy paper you have lying around and your child’s watercolor paints and brushes and go to work.
But…
Right away you’re disappointed.
Using a child’s watercolor set is not a bad idea for beginner watercolor projects. These watercolors are not the highest quality but you really can get a decent enough result by using them, so they’re fine to use at the beginning of your watercolorist journey.
But…that copy paper will let you down. Big time.
Why?
Because it’s not made to handle the water you’re going to put on it. Quality watercolor paper is made to handle water…and you’ll be surprised how well it will hold up brushing it with water again and again.
What you need to know is there are different types of watercolor paper and they range in price from moderate to expensive as well as being available in different sizes.
For a true beginner, I recommend a basic paper: 140 lb and cold-pressed. It’s a solid paper that will perform well for you and not get in your way as you practice.
You can get watercolor paper at any hobby or big box store or online from art stores or Amazon.
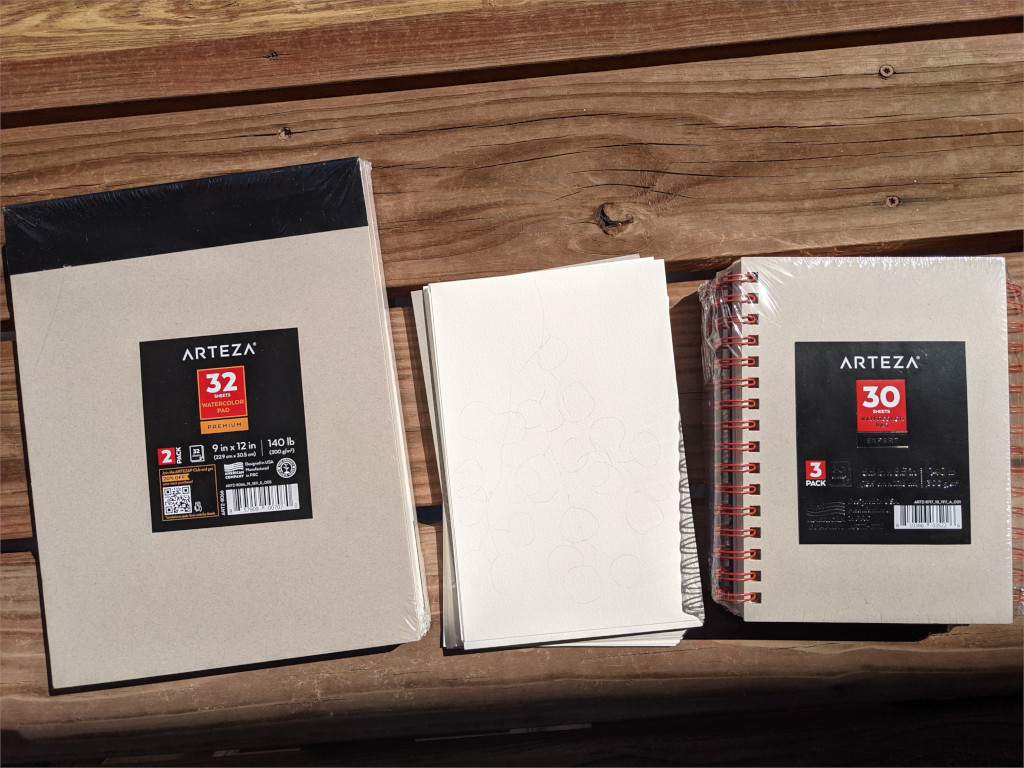
(So I grabbed some of my watercolor paper from my stash to show you what I have for this watercolor tutorial and you might think I like the Arches brand by looking at the above picture! Arches is a very good brand, but to be honest, I choose different brands all the time. Beyond the 140 lb and cold-pressed requirements, I need 9×12 inch paper for my finished work and I love to do my watercolor sketches on spiraled watercolor notebooks – so they lay flat – or on individual watercolor sheets.
Paint for a while and you’ll have your favorites, too.)
140 lb cold-pressed watercolor paper has texture to it and, in my opinion, is easier to work with.
Not everyone agrees, of course. There are as many watercolor techniques as there are watercolor artists!
I happen to think that’s a good thing.
There is also hot-pressed watercolor paper. It is super smooth. I think it helps to have a bit of painting experience under your belt in order to use this smooth paper without frustration. It’s very good for detailed work.
But by all means, if you’re curious, give it a try!
(Want more info on this topic? Here’s an excellent watercolor paper article that goes into much more depth than my post. Hope it helps!)
Love modern art? Wish you could find some beginner tips for minimalist art? Come & visit my page on abstract watercolor painting.
The best watercolor brushes for beginners.
You’d be shocked how few brushes professional watercolor painters sometimes use.
We’re all different, of course, but I remember starting out believing I’d need a couple dozen sized brushes at least.
Nope.
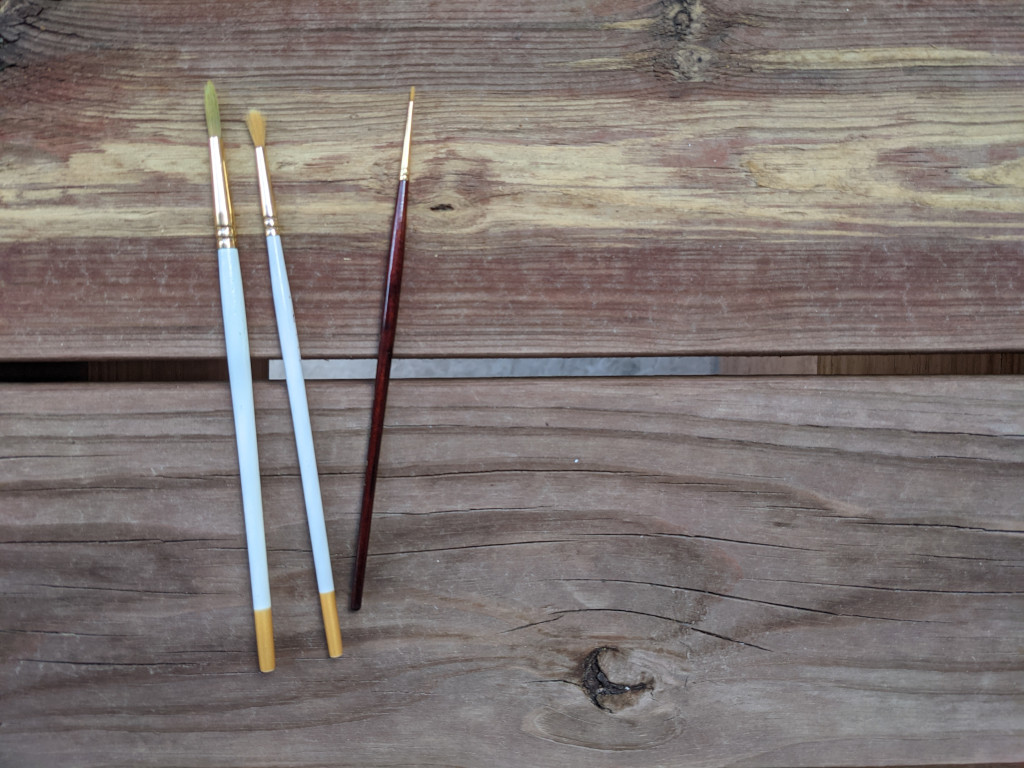
Again, since we’re discussing beginner watercolor tips, everyone has their faves when it comes to brushes, but mostly I work with just 3.
2 rounds and 1 liner brush.
For me, the price of brushes does matter a bit.
I don’t go ultra-expensive, but I definitely stay away from the ultra-cheapies in the brush world.
You want a brush that holds its tip (flailing bristles = bad) and can hold a fair amount of paint.
Look for “watercolor” on a brush’s label or description and you should be fine.
Both natural and synthetic bristles do work with watercolor.
I’d recommend choosing a small and a medium round brush and a small liner brush for starters, unless you’re jumping in and painting large projects right from the get-go.
Keep them clean and dry when not using and they’ll serve you well.
Use water with your watercolors
It can be intimidating in the beginning with watercolors.
That’s genuinely understandable.
However, freeing up your hand can make an instantaneous difference in your artwork.
Some people do this naturally, but lots of us struggle with letting go a bit.
For me, it’s the perfectionist in me.
Perfectionism and watercolor do not mix well!
We try so hard to get just the right amount of water and paint. But the secret to watercolors is the water. So to free up your hand a bit try the following.
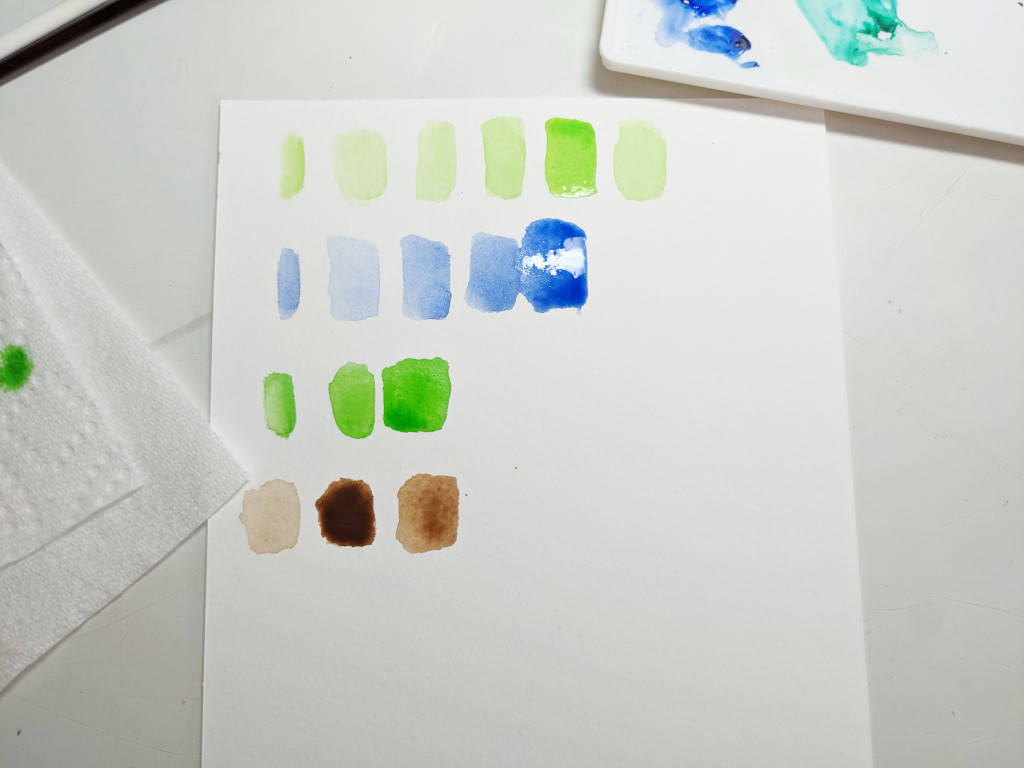
Get out a fresh sheet of watercolor paper.
Start with a barely wet brush and a bit of paint.
With each stroke, add a bit more water. Then a bit more paint.
Relax and watch how the paint, water and paper react to each other.
(In the photo above I started with very dry paint on the left and varied the amount of paint/water for each swatch. It’s in no particular order, the point is to experiment and train your brain go with the flow of the paint.)
This is vital watercolorist information and you are training your eye and your hand to see the differences.
Repeat this with several colors.
You can’t go wrong here!
Discover your colors
This next tip is related to the last one.
Once you have played with different amounts of color and water and have a sense of how your brush handles all of this, find a color chart and start re-creating it on a fresh scrap of watercolor paper.
This just might make you feel like a kid again in art class. Pretty cool actually and definitely freeing.
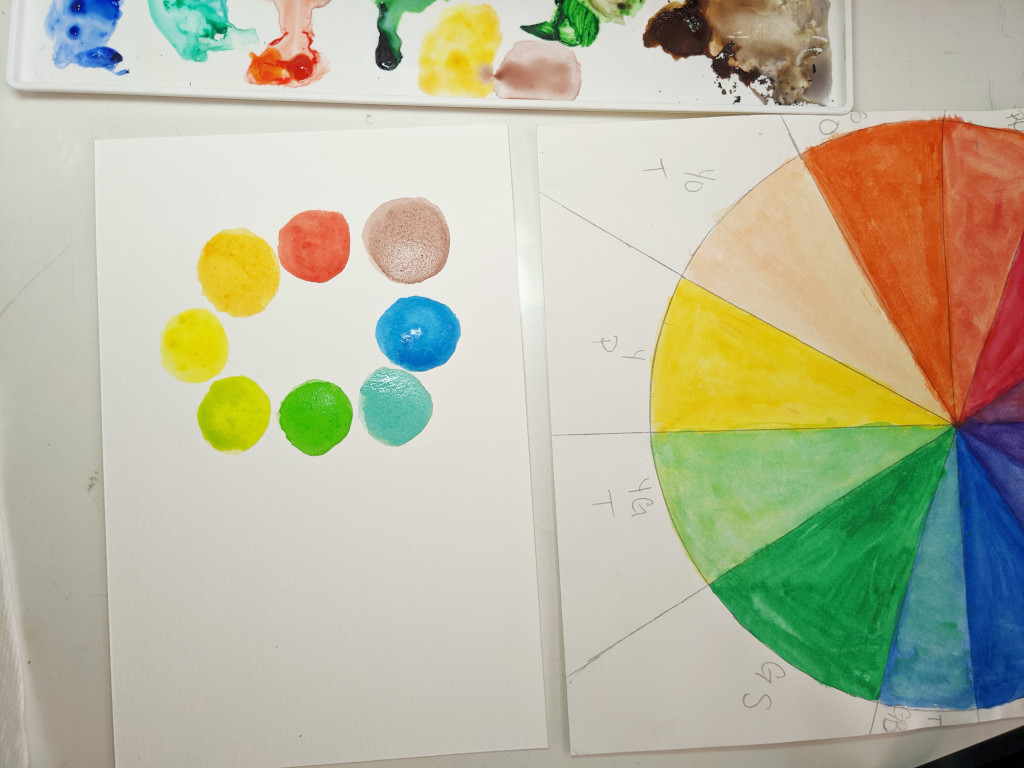
These exercises will increase your confidence as you tackle your first paintings.
Do the exercises several times for even more confidence.
It’s a bit like practicing scales if you play a musical instrument. (Piano player here.)
Start with line art
No, I don’t mean start by filling in coloring pages with watercolor.
Instead, choose a simple picture or object you would like to try and paint, and only paint the main shapes from it.
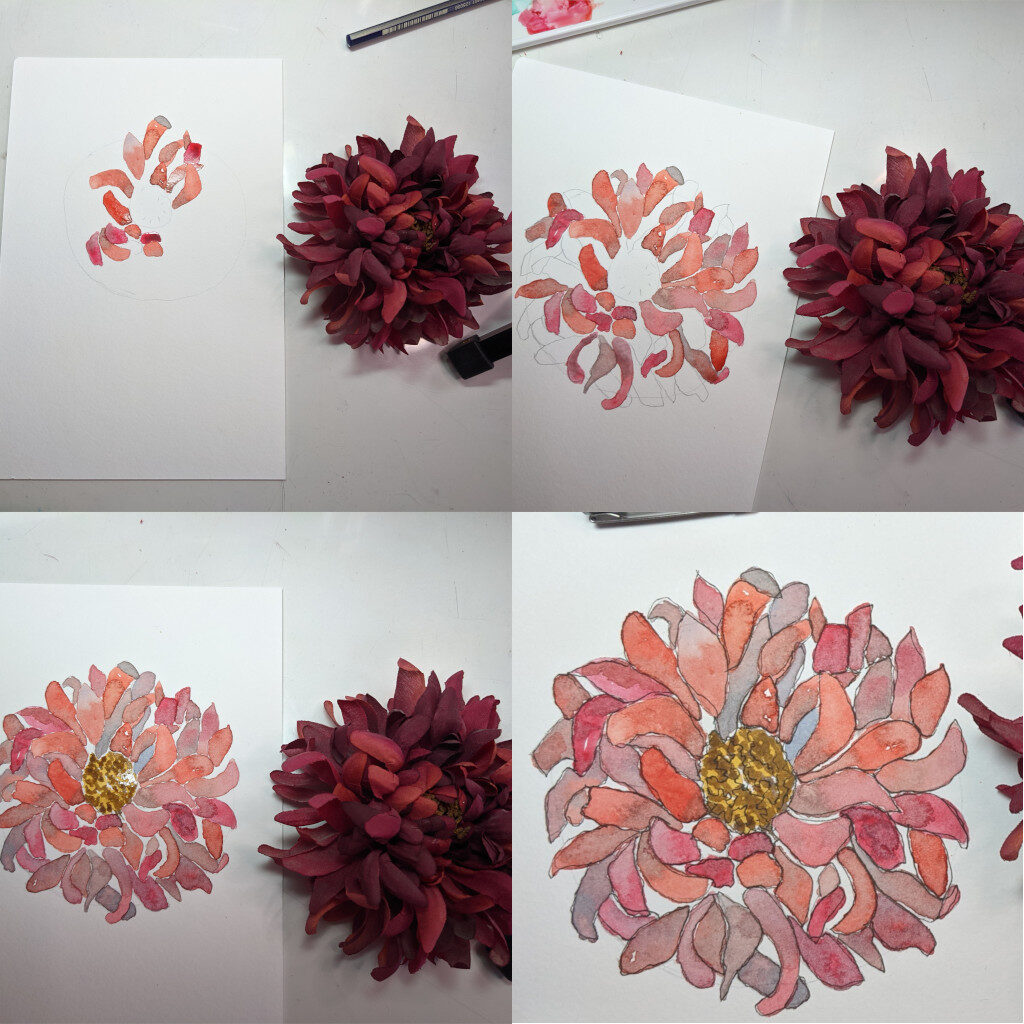
This is an example of illustration and it’s a great way to learn how important shapes are in painting.
Watercolor works beautifully with this technique because its transparent beauty always shines through.
If you’re truly new to watercoloring, I recommend painting just 1 or 2 simple items at a time and playing with the watercolor techniques we talked about here.
(I will admit this flower shape I used in the above photo is more advanced than I planned to show you. But then I realized that whatever shape you use will work just fine; you just need to focus on seeing the shapes, not on reproducing them perfectly. So I kept the flower to show you how even a seemingly complicated floral shape fits in well with easy watercolor painting ideas for beginners. Once you paint 1 petal, you can paint 20 petals.)
You might be surprised how much you can see changes in your projects in just a few tries.
Think in terms of layering your newfound skills vs trying to achieve advanced paintings from the start.
What’s Next for Your Watercolor Painting?
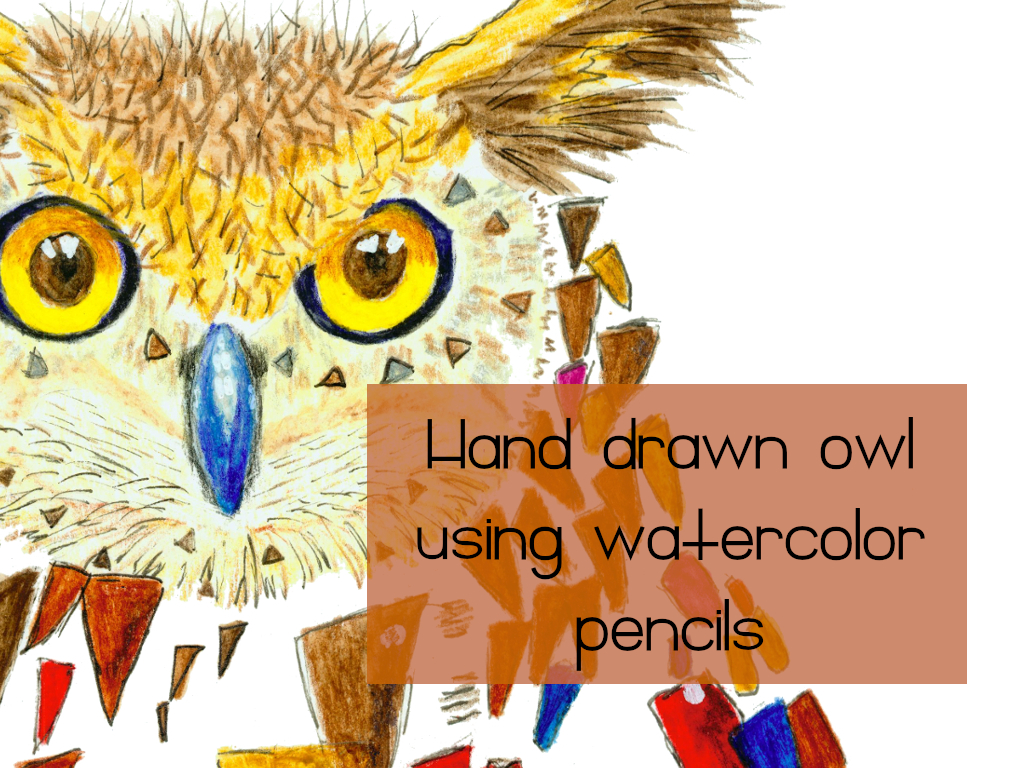
Take a look at my watercolor pencil owl. Notice the shapes I used in this owl project mimic what we learned with the flower on this post.
Give it a try!
